
HOW TO BUILD AN ACOUSTIC DIFFUSER
Okay, I’m going to try and simplify this blog as much as I can. Partly due to the fact I’m not a physicist and partly for the readers sanity.
TYPES OF ACOUSTIC TREATMENT
Absorption:
There’s several different types of acoustic treatment which all have their own areas (or frequencies) that they flourish in. Absorbers or absorption does just that. Usually soft and spongy, these acoustic gems are the most popular type of acoustic treatment. You’ve probably seen the Auralex pyramids, wedges or something similar in studios lining the walls or sporadically positioned in random spots around the room. Sound energy (vibration) hits the material and the thousands of tiny air pockets that the material is composed of remove the energy.

Auralex Wedges
Have you ever screamed into a pillow? Well I do constantly and if you do, you’ll notice that it sounds very muffled. This is due to the acoustic qualities that absorptive material removes. Absorption is great at removing higher frequencies. It will take some of the low end out but because the physical sound waves are larger in the lower end, they tend to pass right through.
Bass Trapping:
Another example is hearing a nightclub from the outside. The soft furnishings inside the building remove most of the higher frequencies but the low beat of the music still travels through the walls.
So how do you get rid of the low end? This is the hardest of the frequency ranges to deal with. The wavelengths of low frequencies are so large and the energy they produce is greater. Wikipedia states, “For sound waves in air, the speed of sound is 343 m/s (at room temperature and atmospheric pressure). The wavelengths of sound frequencies audible to the human ear (20 Hz–20 kHz) are thus between approximately 17 m and 17 mm, respectively.”
This means that most the low end of the audio coming out the speakers in the studio has a wavelength that is longer than most rooms. This typically creates a build-up of low energy at the corners and walls of the rooms called ‘standing waves’. The treatment used to deal with these frequencies are bass traps. They normally consist of corner pieces placed in the corners of the room. The idea is for the bass frequencies to pass through them and get ‘trapped’ in the corner pieces before they come back in the room.

Arqen diagram of Bass Trap positioning and design
Diffusing:
This brings me to the last major variation of acoustic treatment, diffusers. Sound acts like light in a lot of ways. If you shone a flashlight at a mirror the light beam gets reflected back at the angle of incidence. I.e. if you pointed the light at the mirror at 45 degrees it would reflect off the surface at 45 degrees and back into the room. Sound works just like this. Acoustic treatment is the act of stopping the sound bouncing off the various surfaces of the room. What a diffuser does is jumbles up these reflections so they don’t reflect back into the room.
Sound hitting a diffuser and being reflected back in many different directions
Reflection points are the places in a mix room that the audio from the speakers hits the nearest walls and ceiling. The first reflections are known as early reflections and it is in the engineers’ best interest to kill these reflections. The reason being that if the engineer hears the direct sound vibration from the speaker to their ear, they will then get a second version of the same vibration that is reflected off the nearest walls and ceiling but at a slight delay. This confuses the brain and ultimately messes up the stereo image, which results in inaccurate mixes that could sound strange on different systems such as consumer’s headphones. These reflections happen behind the engineer too and reflect off the back wall thus reflecting back into the engineers’ ears with an even longer delay.
The best way to deal with this is to place absorption and/or diffusers at the reflection (or mirror) points. In my studio I used absorptive sounds panels at the reflection points by the mix position and an acoustic curtain behind the mix position to deal with this. However, I wanted to be even more precautious with my reflection points and treat a larger frequency range by adding a diffuser behind me.

Primacoustics explanation of reflection points
WHAT FREQUENCIES DO I DIFFUSE?
Within the ‘diffusion’ acoustic treatment bracket there are several types of diffusers that treat specific frequencies. This gets even more confusing at this point! I wanted something broadband meaning that it would diffuse as many frequencies as possible for my money.
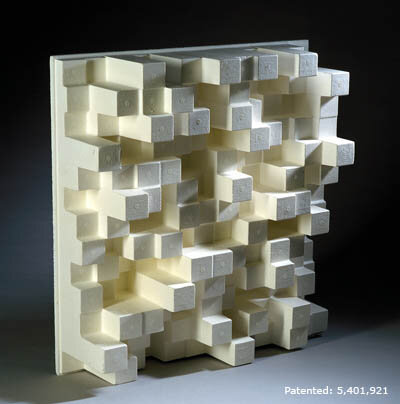
The studio I used to mix at in London had an RPG Diffractal (Fractal QRD Diffuser), which offers the best of everything. It has deep gutters to break up lower frequencies and within each gutter even smaller gutters to break up the mid and higher frequencies. The depth of each gutter varies at very specific depths. This is the part the acoustic scientists have mathematically configured for optimum diffusion. As much as I wanted to add these not only practical but awesome looking panels in my room, they are bloody expensive!

Arqen RPG Diffractual Diffusers
So I did my research on how to build my own. The easiest diffuser to build it seems is the skyline diffuser. Lots of different length squares positioned specifically to a set grid are good diffusers for mid frequencies. They extremely heavy due to the amount of wood used though.
Skyline Diffuser

The layout for building a skyline diffuser
The QRD diffusers are probably the next easiest to make but only cover lower-mid frequencies.

QRD Diffuser (Columns)

QRD Diffuser (Squares)
BUILDING THE DIFFUSER
I then discovered a panel designed by Tim Perry and he very nicely offers the blueprints for free. Email him and he’ll send them back shortly.
http://arqen.com/sound-diffusers/
What I liked about these diffusers was their range of frequencies that they attended to, they look really cool and the carpentry is relatively straightforward. Compared to building an RPG Diffractual diffuser at least!

The Arqen Leanfuser design
He gives specific dimensions, which I actually didn’t stick to because I wanted to optimise my wood purchasing and wanted a specific size of panel. As long as you keep the ratios the same, the acoustic properties still work. If 300mm has to be 9 inches for example, 100mm would become 3 inches (1/3 of the length).
The next dilemma I went through was what wood to use. This is an aesthetic decision as well as a practical one. I wanted something solid but also not too heavy. I ended up buying 8'x4'x¼” thick plywood. I used the 4 foot width of the plywood panel as the height of my diffuser and divided the 8 foot length into the calculated strips I needed. In retrospect I should’ve used slightly thicker plywood since it warped a little after the panel was complete. I rectified this with reinforcing wood on the back but it would have been easier with at least 1/2'” plywood.
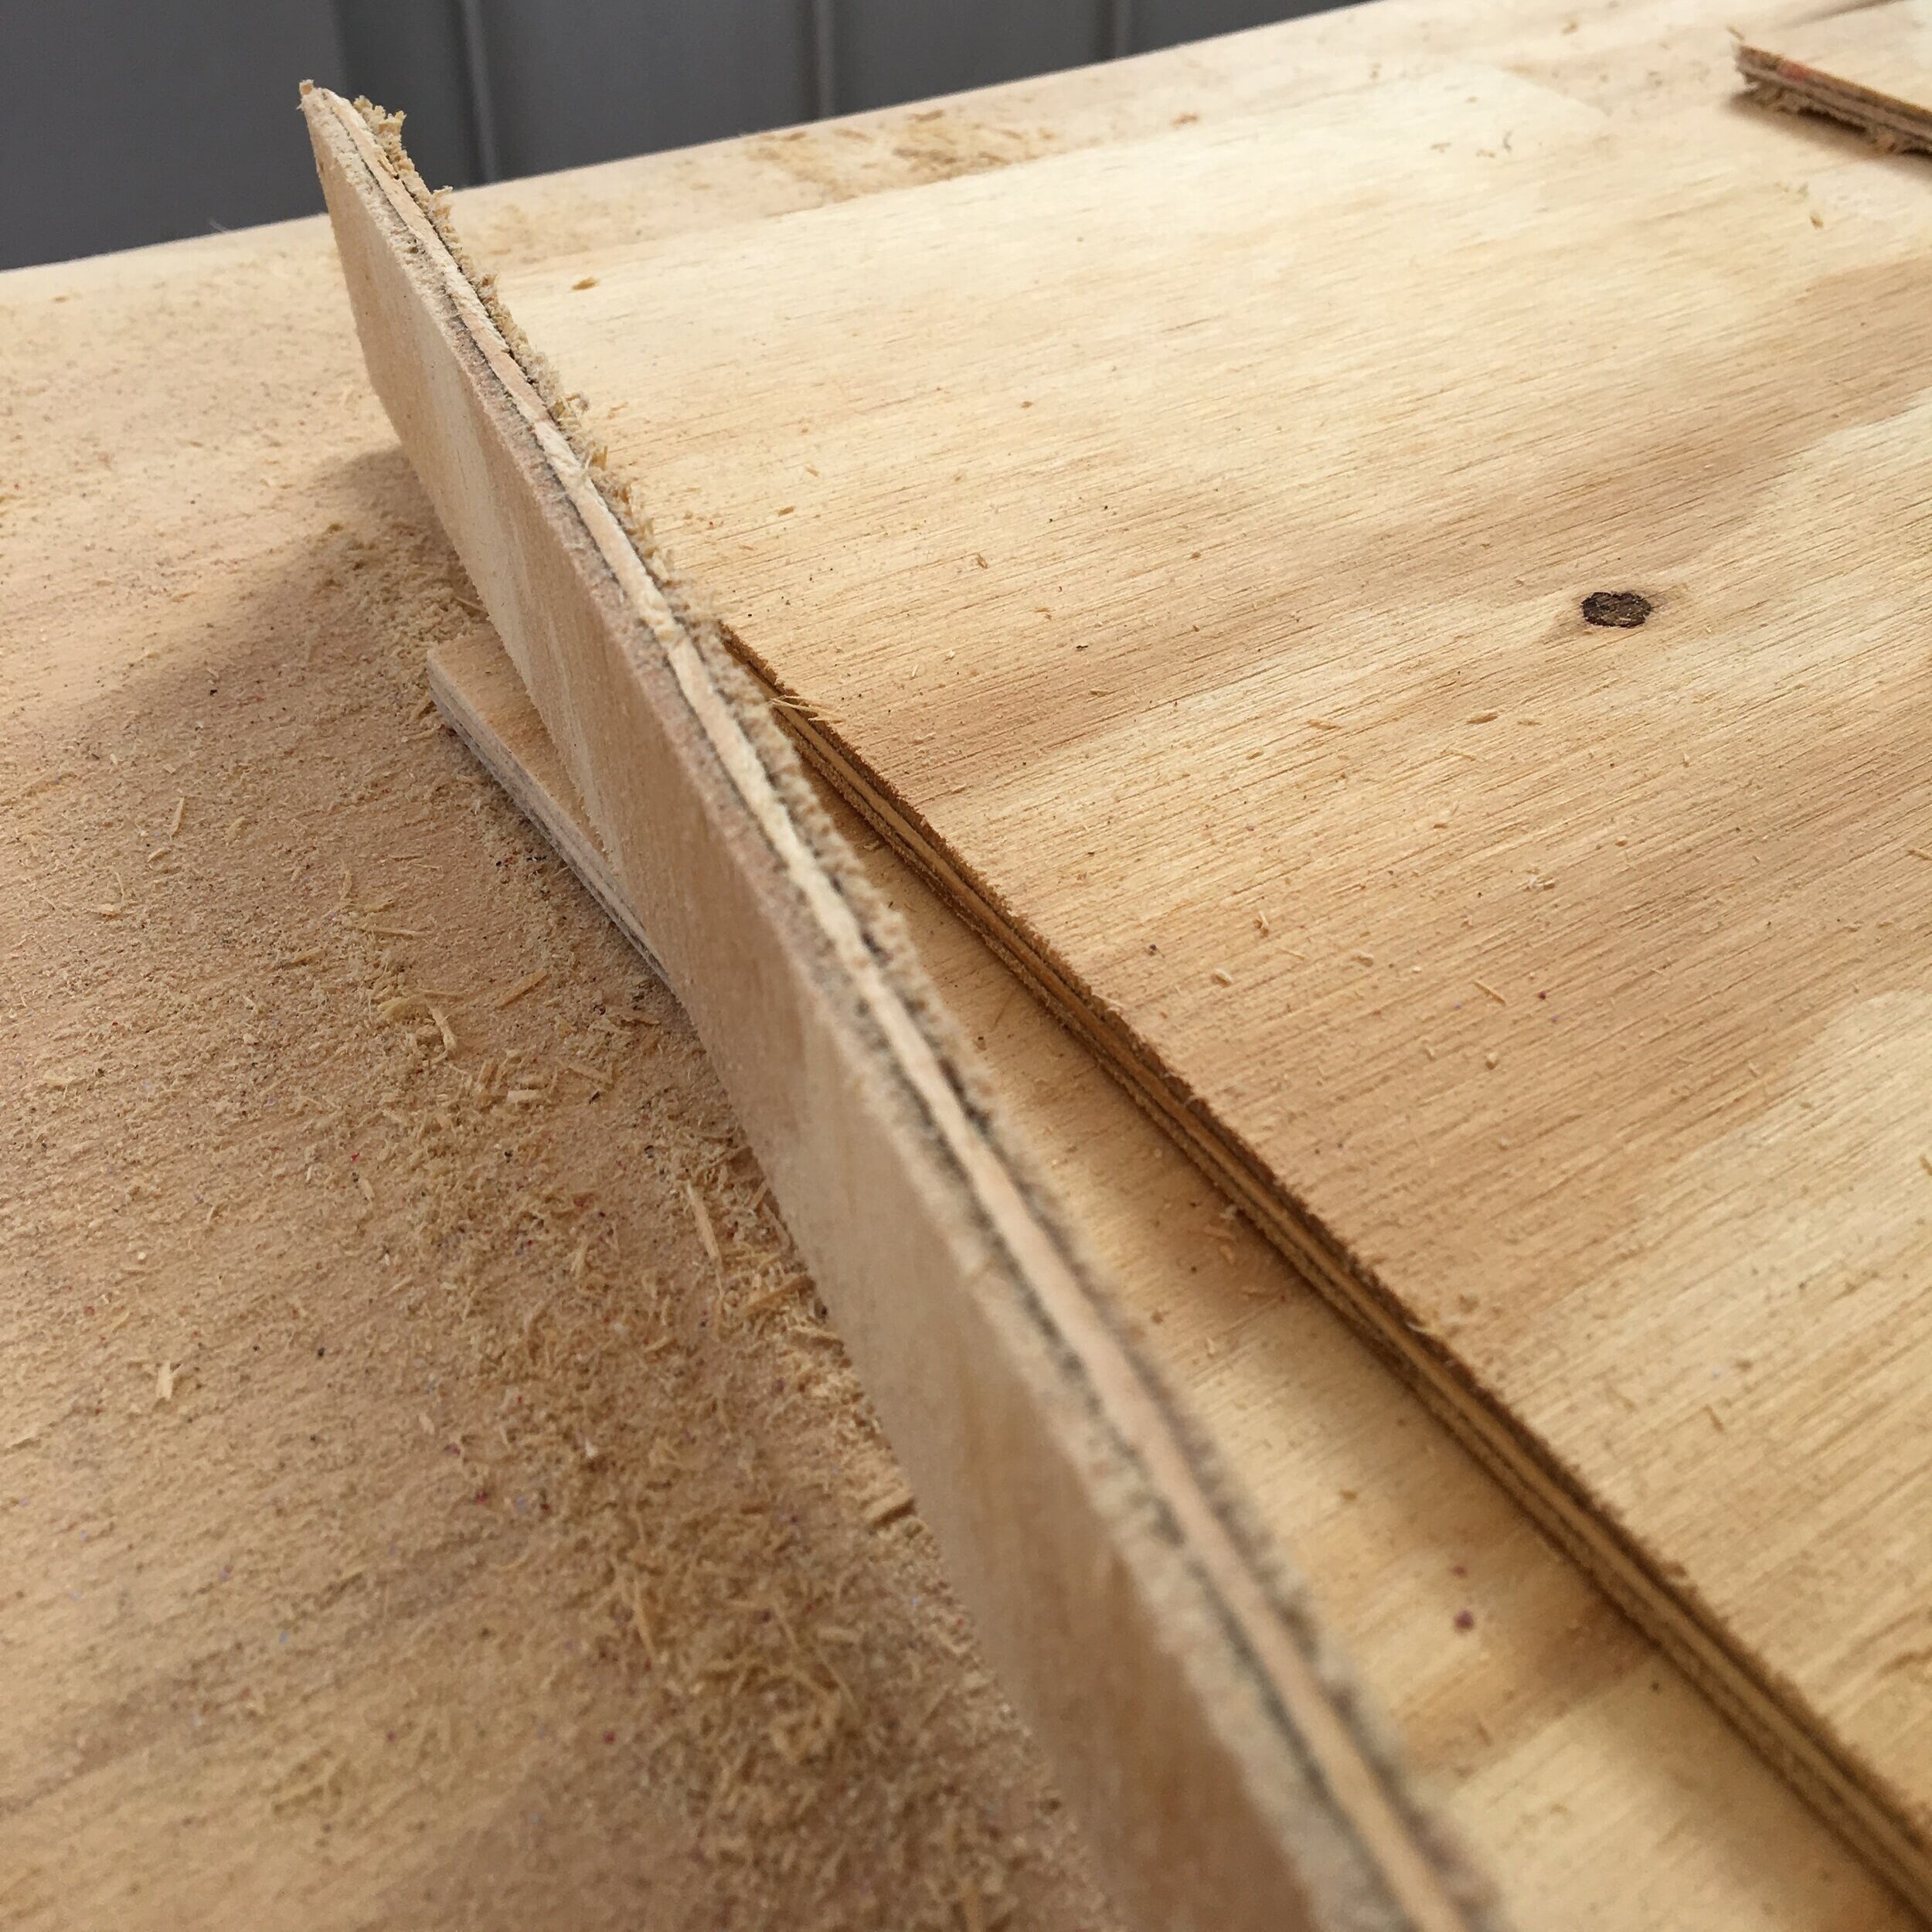
1/4" Plywood
With my measurements calculated I pencilled each strip that needed to be cut and precisely as I could ran the circular saw down each line. Once each strip was cut I sanded them all and started constructing the diffuser. This was just a case of layering and working out which strip goes where. After the construction I re-sanded the entire thing ready for staining. I still had remaining stain from the Audio Workstation so I just used that to keep the colour scheme consistent with the rest of my studio.

All the pieces cut

Glueing
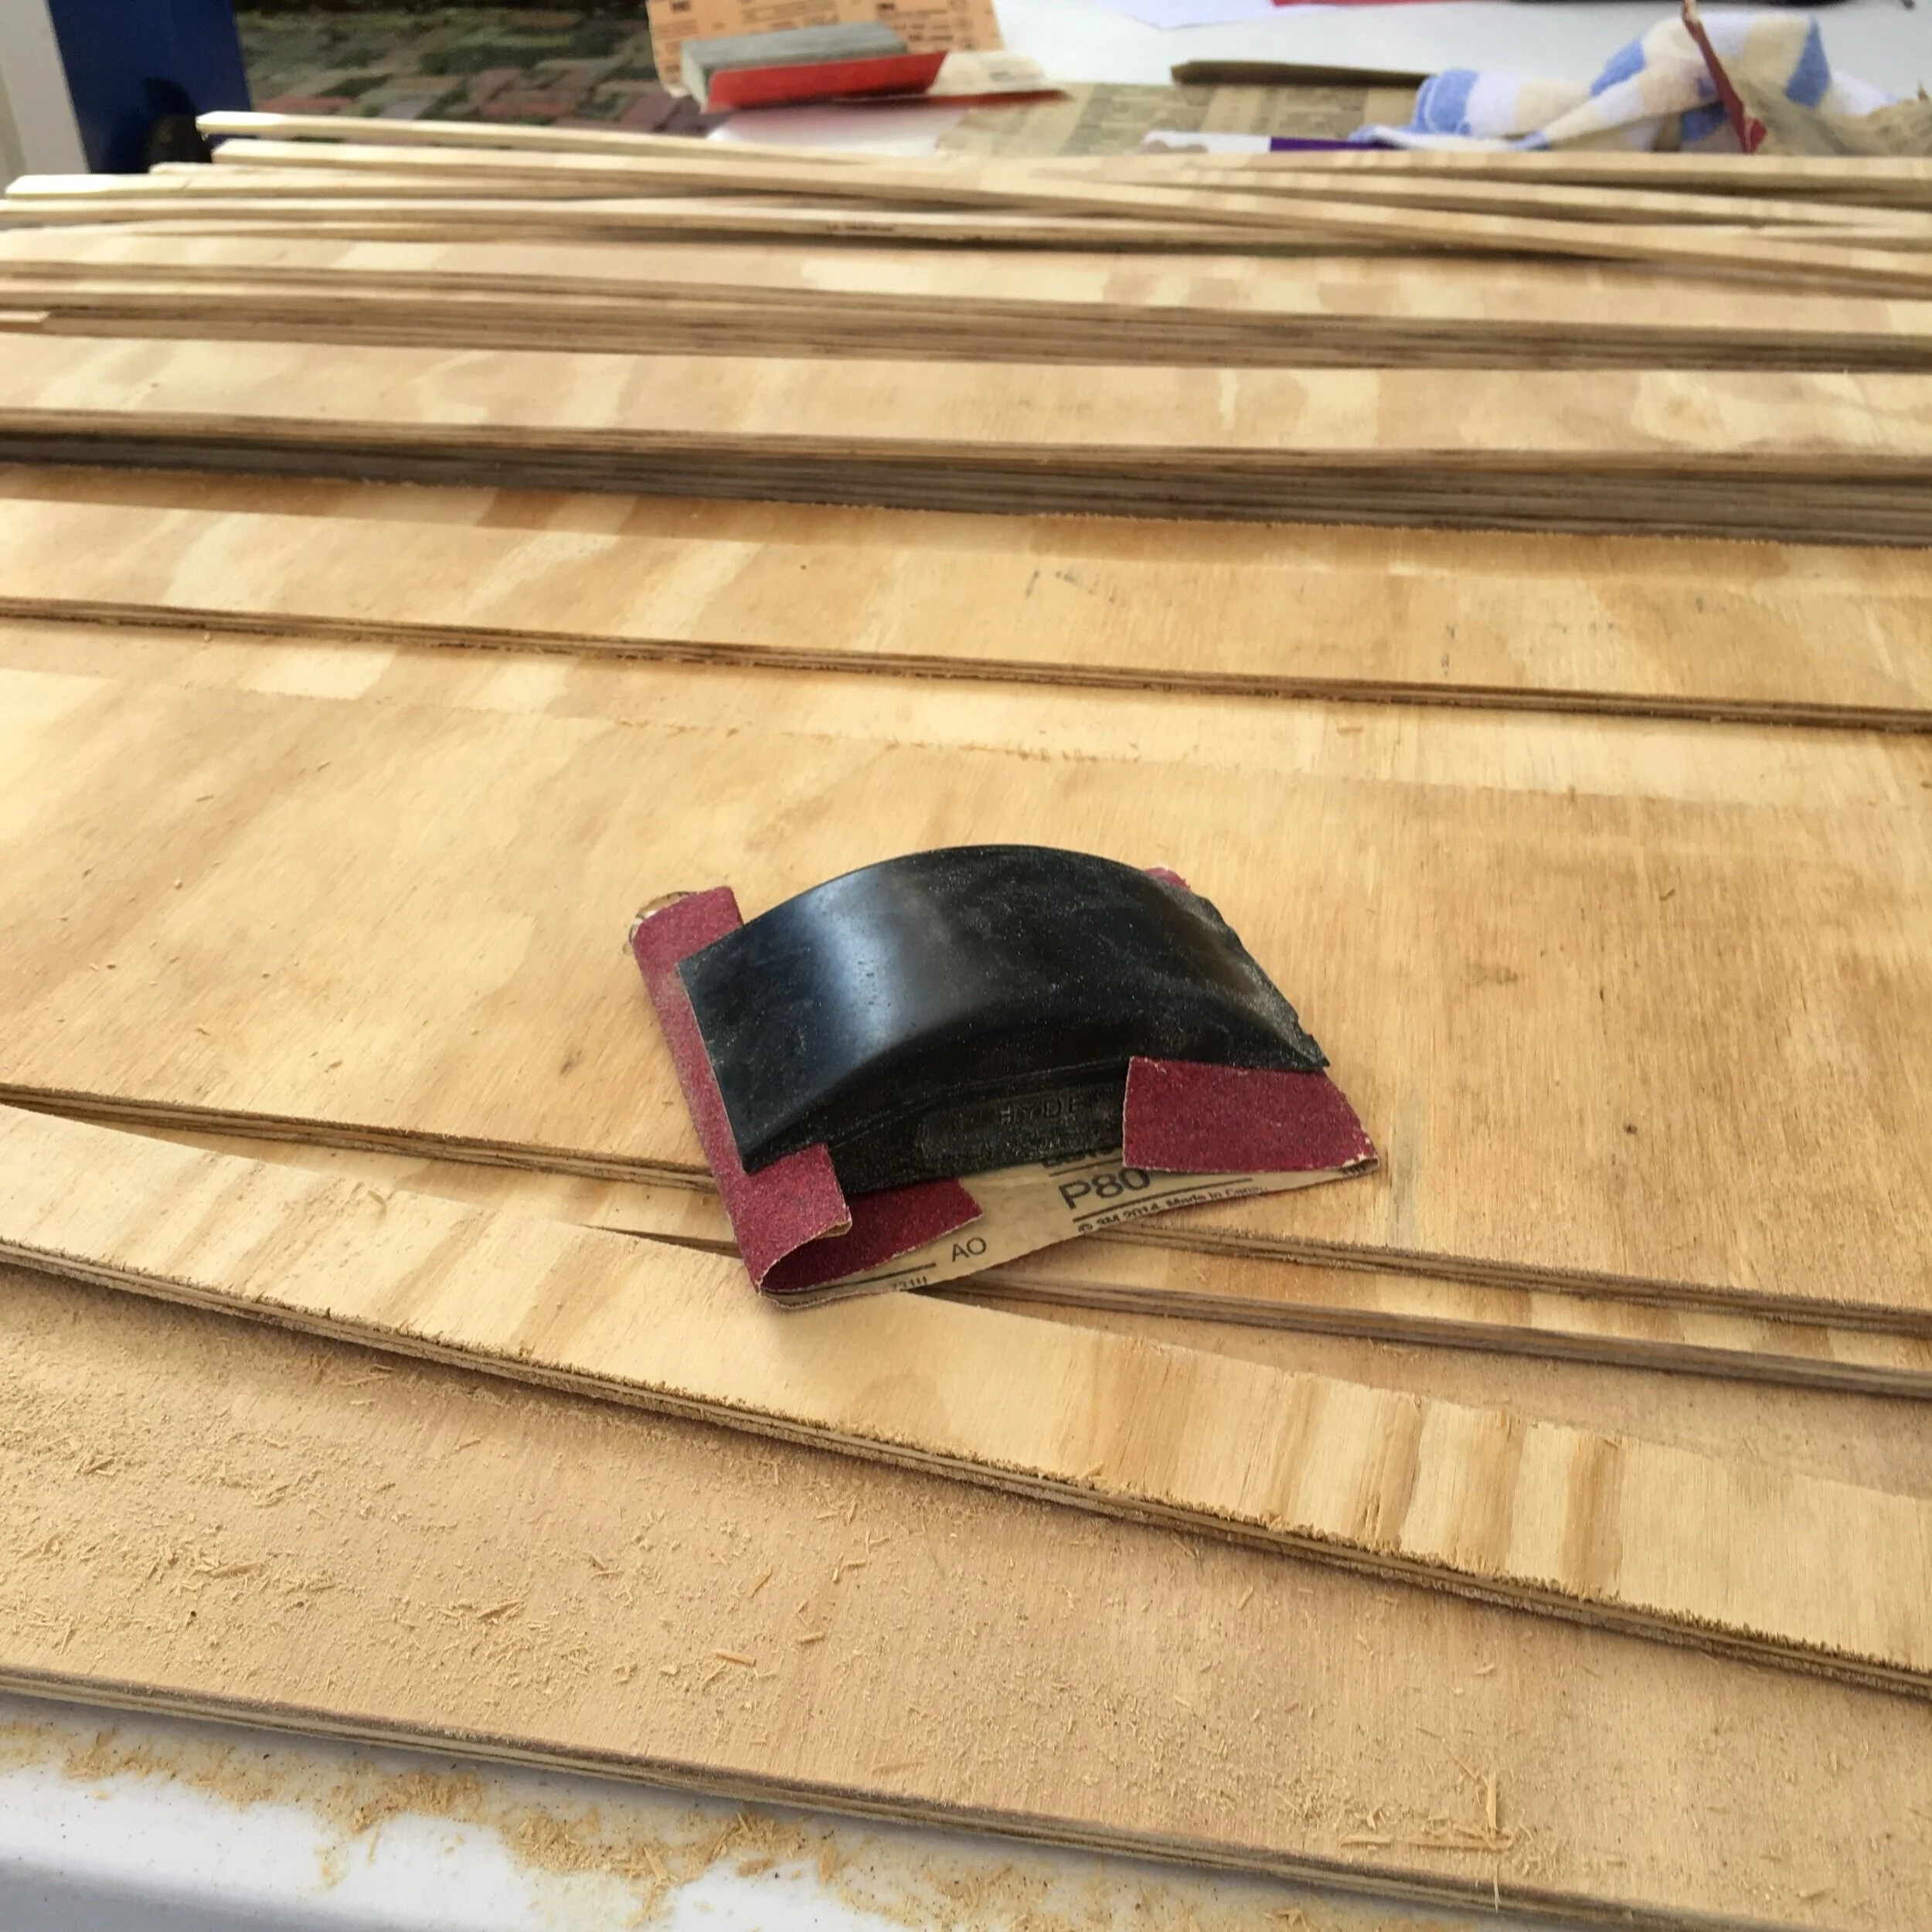
Sanding

Clamping
Because of the layout of my studio, I decided to mount the diffuser on a barn door sliding rail with cables dropping the height of the diffuser to be in line with my speakers. Not only does this look really cool and fitting with the décor of my studio but it’s practical for sliding to one side so I can enter and exit the studio conveniently.

The final product
Having the diffuser in place has noticeably tightened up the stereo image from the mix position as well as reduced some of the flutter echo that was present in the room.