
HOW TO BUILD A STUDIO IN 77 SQUARE FEET
Welcome to the Square Mile. This is the name I call my studio weighing in at a humble 77 square foot. 7’x11’ to be precise. So…what is one to do with so little space? Research is the first port of call. Most project and bedroom studios are around this size so there’s plenty of information out there on acoustic treatment and utilising the space efficiently. Using that information and translating it to a professional environment that is client friendly, acoustically sound and comfortable is a taller task than one might think though.
I first discovered the beautiful Bond Collective (previously Coworkrs) space in Gowanus, Brooklyn by meeting a client there that happen to rent a unit in the space. On top of discussing how I can create and mix audio for them, they showed me around. To say I was impressed is an understatement. The building clearly used to be an industrial factory with uniform windows, pillars and plenty of exposed brick and graffiti. Leaving enough of this ruggedness on show and sprinkling leather sofas, artwork and modern interior design over three floors, it has a very comfy and client-friendly vibe. This was exactly what I was looking for in a commercial space.

The Bond Collective Space
Working on a similar business model to other shared office spaces that are extremely popular right now, Bond Collective offer a vast amenity range from help-yourself Toby’s Estate coffee and fruit to craft draft beer and inevitable high speed Wifi. There are different price points for being a member too depending on your needs. If you simply require a roof over your head and solid Wifi away from home then you can work remotely and grab a couch somewhere. The next step up is a dedicated desk allowing members to have a guaranteed desk space to leave their computer and personal knick-knack’s at. The third option is a private unit. This is the only option I could have considered since I’ll be playing very loud, very annoying 2 second clips over and over for hours. Units range in size and the price reflects the square footage.

The Communal VO Booth
With all the amenities and curb appeal I was looking for, I inquired further into the sort of businesses that reside at Bond. “Oh it’s mostly production companies”, somebody casually mentioned. Boom! A client base on my doorstep. “Did we mention there’s a communal voice over booth you can use?” SOLD!!! I asked politely if I moved in, would I be able to run cables from my unit to the voice over booth? They didn’t see it as a problem and actually embraced the idea of having a pro studio attached to the booth so they can up-sell the buildings amenities.
Moving into Bond Collective!
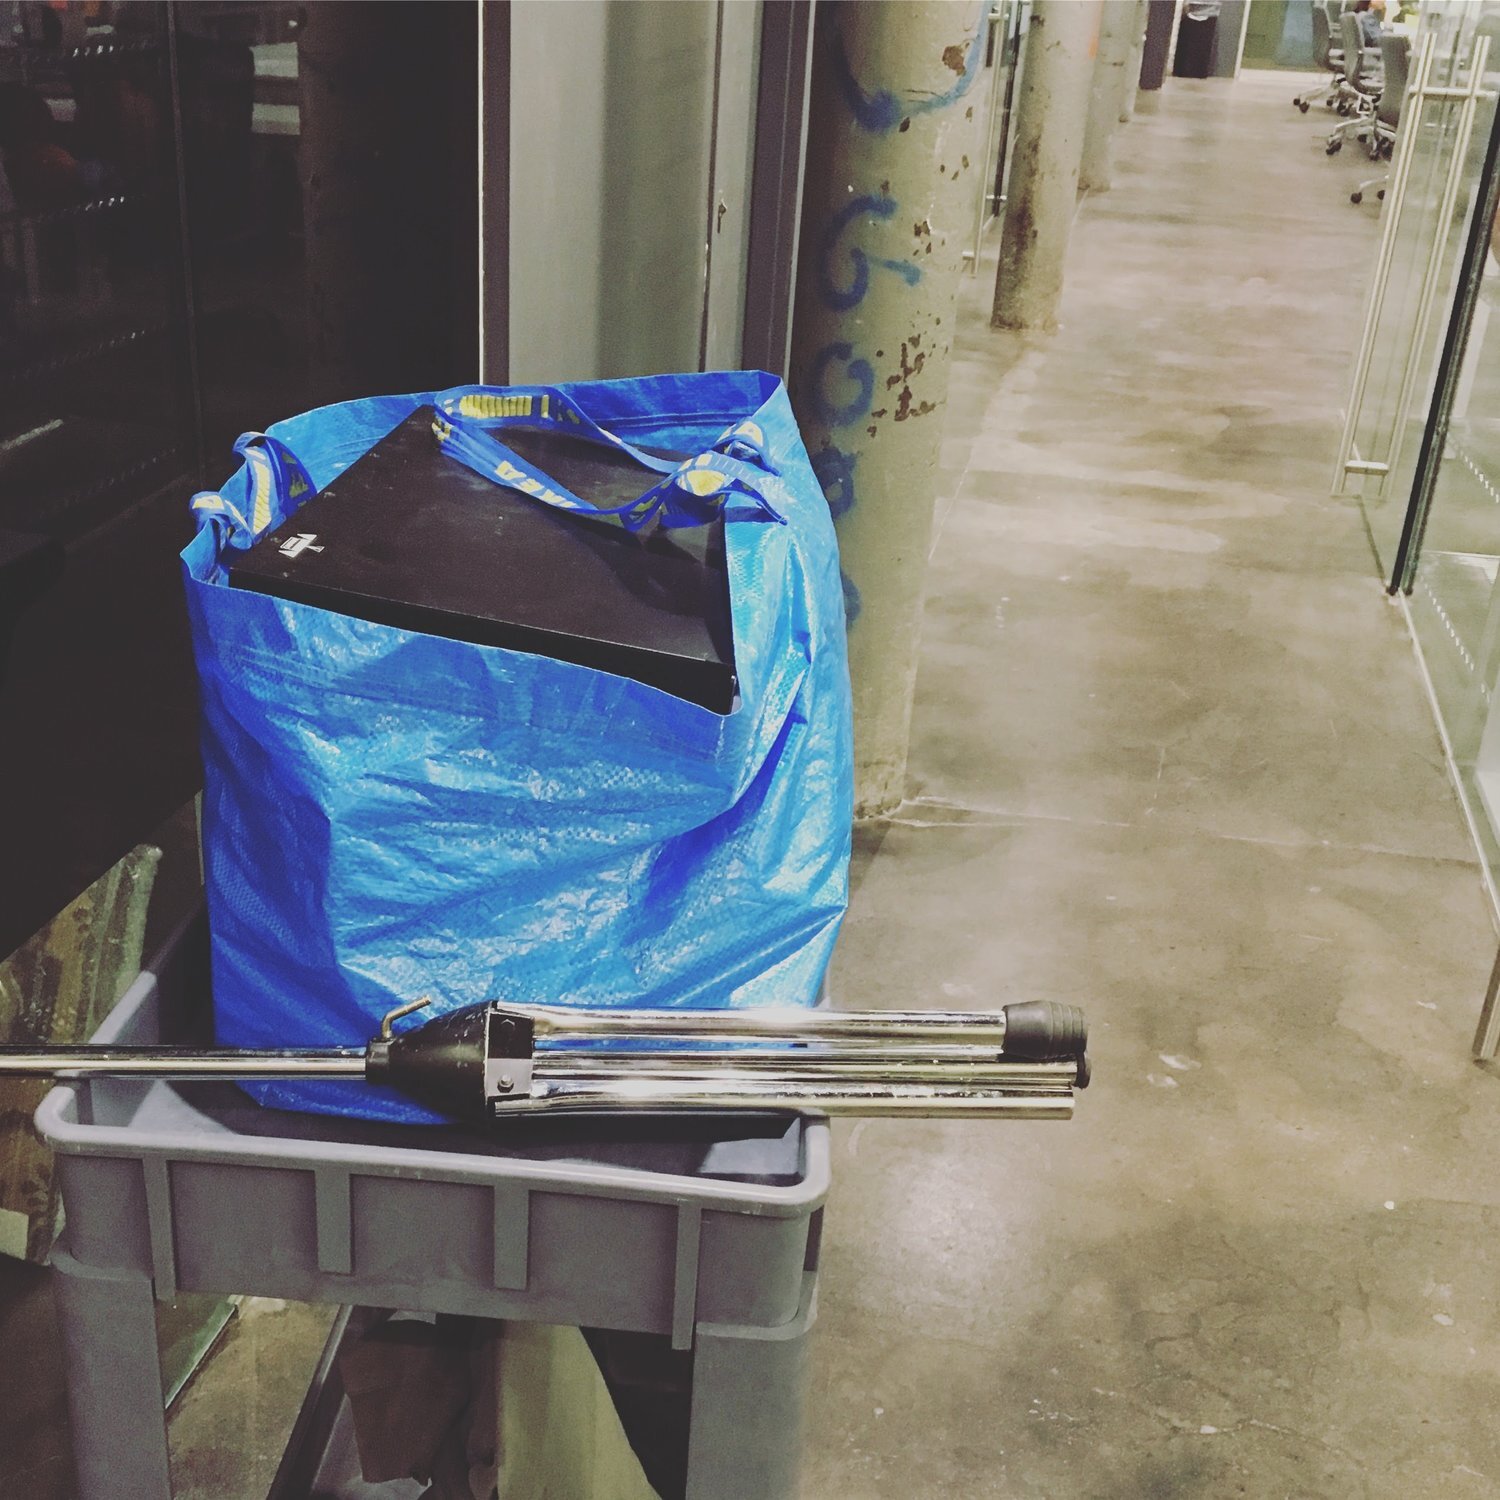
On the 1st November 2016, after much negotiating with the Bond Collective broker, I packed a friends’ tiny Jeep with all the sound panels, equipment and rather large desk I had built and headed over to Gowanus. In the weeks before my move-in date the building had agreed to cover some of the acoustic treatment costs as well as the cost of the cabling to the booth. This was in their best interest since they are offering my connectivity and technical expertise as an amenity to other members of the building. This is where things got exciting! I had the dimensions of the room and now it was time to put my research to the test and start mapping out the listening position, the mirror points, bass traps and all that fun geeky stuff.
The Issues:
The room is small (7’W x 11’L)
The room is tall (12’H)
The room has 3 different reflective surfaces (brick, glass and dry wall)
I have neighbours to one side (through a dry wall)
The Bonuses:
Unit is in the basement
Floors are solid polished concrete
2 of the 4 walls are solid brick (one with dry wall on top)
No windows
The room is rectangular and not square
Exposed brick looks cool as shit!
THE PLANNING
As I mentioned, there’s so much out there on the Internet for inspiration and education with room acoustics. We intensely learned about psychoacoustics at university with algorithms and crazy mathematics, which greatly helped me in my planning although I’ll admit that I did not remember one goddamn formula that I was taught. Bless you Google! The site I found most useful for my situation was Arqen. If you scroll down on that link and look at the 5.1 setup for room 3 you’ll see when compared to my plans, that it’s very similar.

Arqen's 5.1 Post-Production Room Setup
There’s no dimensions on there so I used it as a base to get my ratios and distances right. There’s also some great 101 tutorials on bass traps and general studio set up that I found useful for reassurance.
LISTENING POSITION
Here’s a handy link from the same site as a guide to where to start:
http://arqen.com/acoustics-101/room-setup-speaker-placement/
Basically this dude Wes Lachot did some crazy calculations to discover the best position to be sat in a rectangular room in order to avoid standing waves and ultimately hear the purest stereo image. He says that if you sit at a distance of 38% of the room length from the front wall then you should be fairly clear from the rooms worst acoustic traits. It’s a guideline of course but I needed a basis in which to start my acoustic treatment. It all revolves around the listening position.

Wes Lachot's Theory (from Arqen website)
With some simple maths and a calculator on my phone, I quickly worked out that 38% of 11’ (11x30%) is 4.18’. Easy-peasy. I also know I want to be central width ways in the room so 7’ divided by 2 gives me the half way point. With a big fat X at 4.18’ from the front wall and 3.5’ from the sidewalls, I had my listening position.
I can’t stress how key this position is. Having the location of this position calculated allows me to work out how much distance I have between wall to speaker and speaker to ear, ultimately deciding how big my monitor speakers can be. It also means I can now work out my bass traps for behind the speakers which in turn lets me figure out how big my workstation/desk can be. Finally it shows me where my reflection points will be for my diffuser and absorber placement. It’s a knock-on effect and it all goes back to the listening position.
DESIGNS
Using Google SketchUp (I had never used this before and it was fairly intuitive) I drew up some plans of the room. Please note that at first I thought it necessary to build a secondary stud wall to the right of the listening position as to not disturb my neighbour but Bond Collective assured me the walls were already substantial enough. This means that some measurements are different to the finished product.

Stereo Setup

5.1 Setup - 110 Degrees

5.1 Setup - 120 Degrees

Stereo Setup - Larger Desk
As you can see in the designs there are a couple of different desk sizes I toyed with as well as two 5.1 speaker-positioning options for any future upgrades to a surround sound setup. There's a larger desk option too which is the design I ended up going for.
Now I had the designs it made things very easy for constructing my sound panels, diffusers and bass traps. Because the room is small, the speakers needed to be fairly close to the walls as the diagrams show. It was therefore crucial to have sound absorption behind them, which I doubled up as 60° bass traps. One thought was to have the speakers recessed into the corner bass traps, which is quite a common technique in post-production studios. I decided against it to have control of my speakers but the option is still there for if I want to upgrade to 5.1 or get larger speakers.
THE INSTALLATION
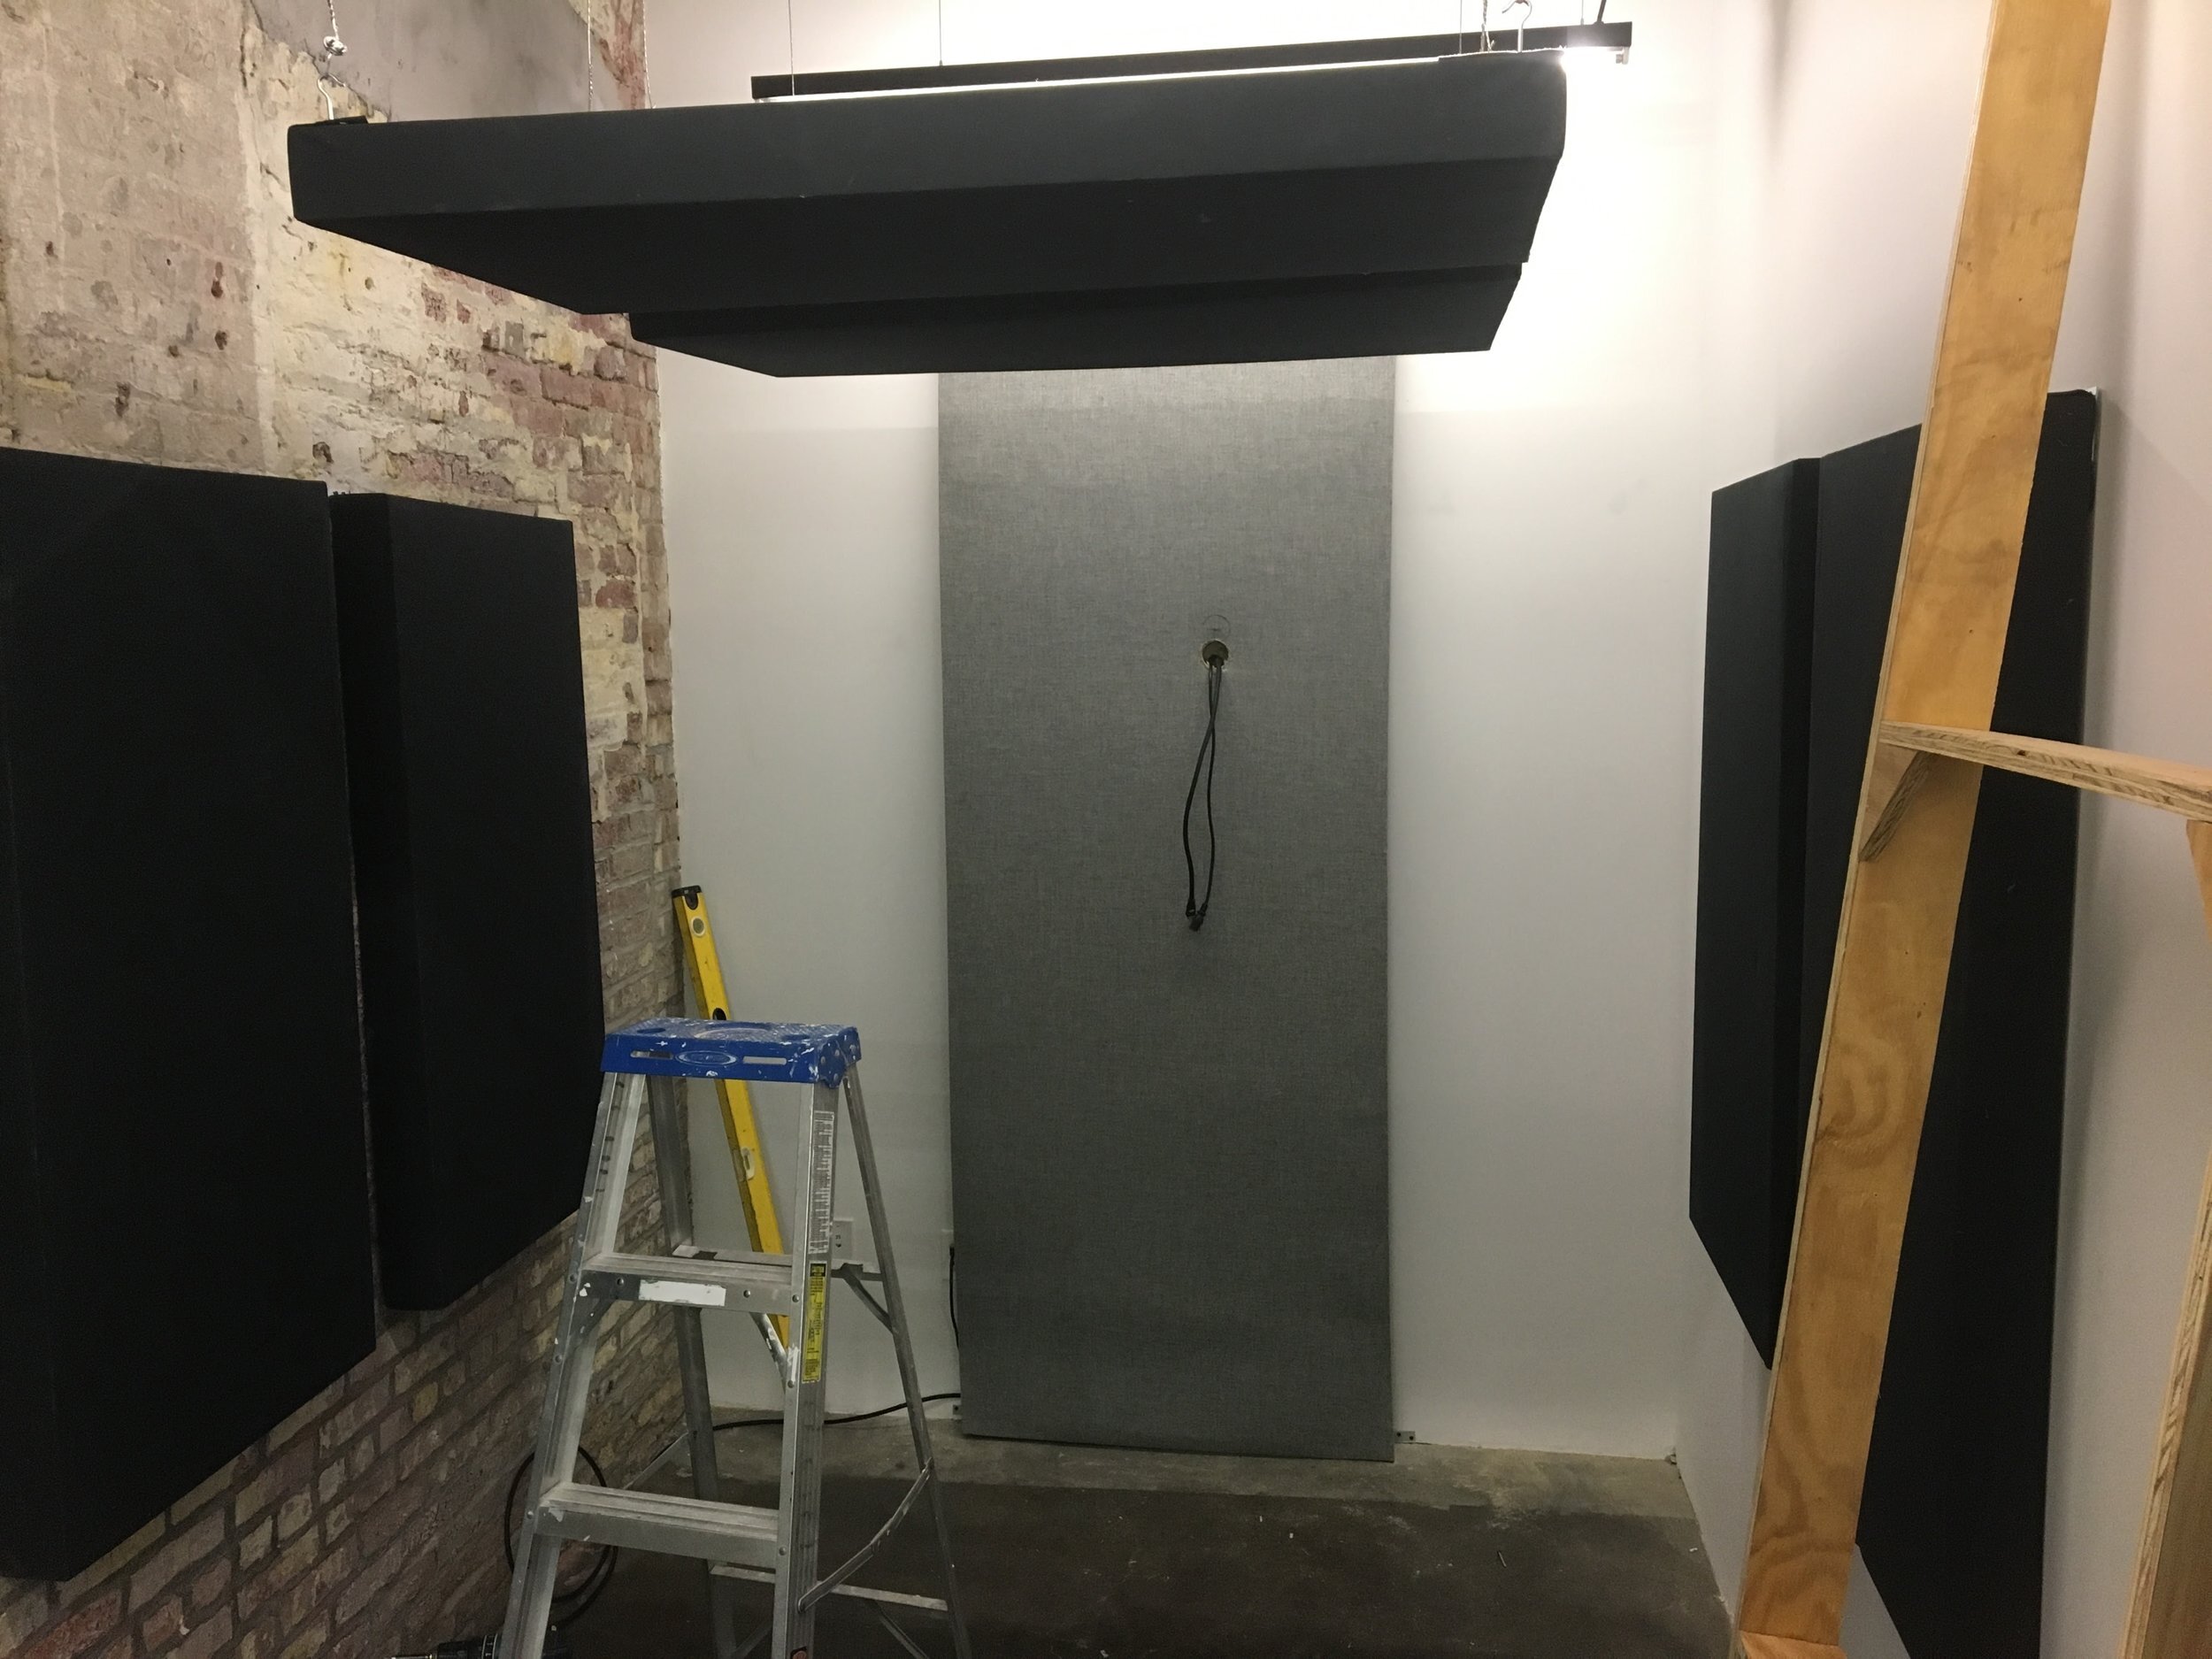
I had assistance on building the sound absorbing front wall with the bass traps. These were a simple construction of wooden framing at the appropriate angles, which were then filled with Roxul Safe ‘n’ Sound and beautifully covered with Guilford of Maine FR701 fabric. I chose grey to keep the room airy and light since I’m in a windowless basement!! I asked the builders to leave a hole in the middle panel so I could mount a TV and conceal the cables inside the acoustic wall nice and neat. They asked me if it was necessary for the bass traps to go all the way up to the top of the 12’ ceilings but since my acoustic clouds were being place 7’ above my head I deemed it only worth treating the wall up to 8’.

Bass Trap Construction

Panels Hung!
Once the frame was up they hung my previously constructed sound panels to the specifications as per my diagrams. Having these diagrams before construction made things so easy, there was no guesswork as to exact placement. I knew exactly where the listening position was and didn’t have to magically envision where the speakers might go. A real time saver and you don’t have to use SketchUp, just grab some grid paper and start drawing!
There's the TV Cables...

...And the Hung TV
Now for my biggest issue: What I haven’t mentioned until now is that the glass surface in the space is more than just a window…it’s a glass wall with a sliding glass door!! Oh boy. Don’t get me wrong, it looks sleek and classy but acoustically it’s thin, leaky, extremely reflective and it’s right behind my listening position. This equates to a majority of sound from my monitors going straight over my head, reflecting off the glass then back into my ears from behind messing up my stereo image something rotten!

Rose Brand Acoustic Curtain and Custom Diffuser on Top
The solution: A theatre grade acoustic curtain. I’ve dealt with Rose Brand before and they’re the best in the business. But that comes at a price. There’s no off-the-shelf option so all curtains are tailor-made, hemmed beautifully with weighted bottoms and webbing at the top with whatever attachments you like for hanging the curtain. I understand this is not an ideal solution but it did solve three major problems; absorbing direct and indirect reflections, preventing sound leaving my unit and disturbing others, and preventing outside noise coming in.
To ensure the room wasn’t too absorptive I didn’t add any other acoustic treatment other than the 6 absorption panels at all the early reflection points, 2 corner bass traps in front of listening position and the acoustic curtain. I then added a custom diffuser (blog to come) behind the listening position so that there was still some liveliness in the room and to tighten up the stereo image.

The Finished Product
THE RESULT
This was a bold move in taking on a smaller space with such high ceilings and a glass wall. However, with my experience and research my treatment has resulted in a tight sounding stereo mixing suite. The low end is tamed nicely and at my listening position the stereo image is actually one of the best I’ve heard. There is some leakage both ways from the acoustic curtain, which was to be expected however being on a lower level keeps disturbance to a minimum.
I’m extremely happy with the results and I now have a professional, comfortable place to mix that can tend to 2-3 clients sat behind me. The final touch was of course a whiskey table to get those creative juices flowing…

Whiskey Helps Everything!