
HOW TO BUILD AN AUDIO WORKSTATION

I’ve had the idea to start my own studio since I first showed interest in the audio realm when I was about 13. In fact, at the age of 14 or 15 my brother and my dad built a recording studio in the garage to have jams and make a bit of cash from recording local bands. I remember saving up for a Tascam 8-track Recorder and being amazed by the fact I could solo each instrument in the demo track installed on the built-in hard drive (that’s right, no cassette tape on this machine!). I started playing around with the EQ and reverb, changing levels and effects. I didn’t know it at the time but I was learning to mix! It was fantastic.
Whilst we were building the studio we learned a lot about acoustics and building materials as well as how to actually build things. It really was a learning curve for the three of us on several levels.
By the time we moved house when I was 16 we had an even bigger garage to work with. As part of the bargain for moving me away from my friends, my parents had promised to help me build an even better studio in the new garage. Studio 2.0. This one had carpet on the walls! Wow. And a bigger control room with a proper patch bay and wall sockets to run mics neatly around the studio. We even upgraded our multitrack to 16 channels…this was getting serious.
After learning even more about building techniques, acoustics, recording and mixing my craving for making this my living was overwhelming. I went to college for Music Technology and then University to study the same subject. Unfortunately while I was away all this time the studio got a little neglected and started to become used for what a garage should be used for. Sigh.
When I got the opportunity to move to New York, I’m sad to say that our little project studio officially closed for business. Ever since then I have been working in professional studios without the need to build my own space…until now.
Granted this isn’t a blog post about a complete studio build, but it’s one of a few DIY blogs I’m writing about starting my own professional studio and customizing it the way I want it.
The Desk (not to be confused with the mixing desk)
I started planning this desk when I moved back to London a few years ago. It’s a little sad but it goes to show how long I’ve been thinking about moving into my own studio space. I was looking back through old notepads and found a sketch (below) of what is actually not far off my finished product three years later.

One of my original desk sketches.
My needs for an audio workstation are fairly simple. I wanted a few rack units, around 10, for my ‘within reach’ equipment and a substantial amount of desk real estate for computer keyboard, mouse, controller, small mixer, large glass of whiskey etc.
If you’re adding racks into the desk then it makes sense to make a shelf above the racks for your monitor speakers and screens. I based my design on something similar to the Omnirax Presto 4, which I have used in my home setups before. I wanted my racks set in the desk at a 45 degree angle as opposed to equipment just sat on the desk at 90 degrees. This opens up a few logistical building problems but the pay off is a nice angle at which to access the front panel of your gear and more rack space without adding height to the shelf above.
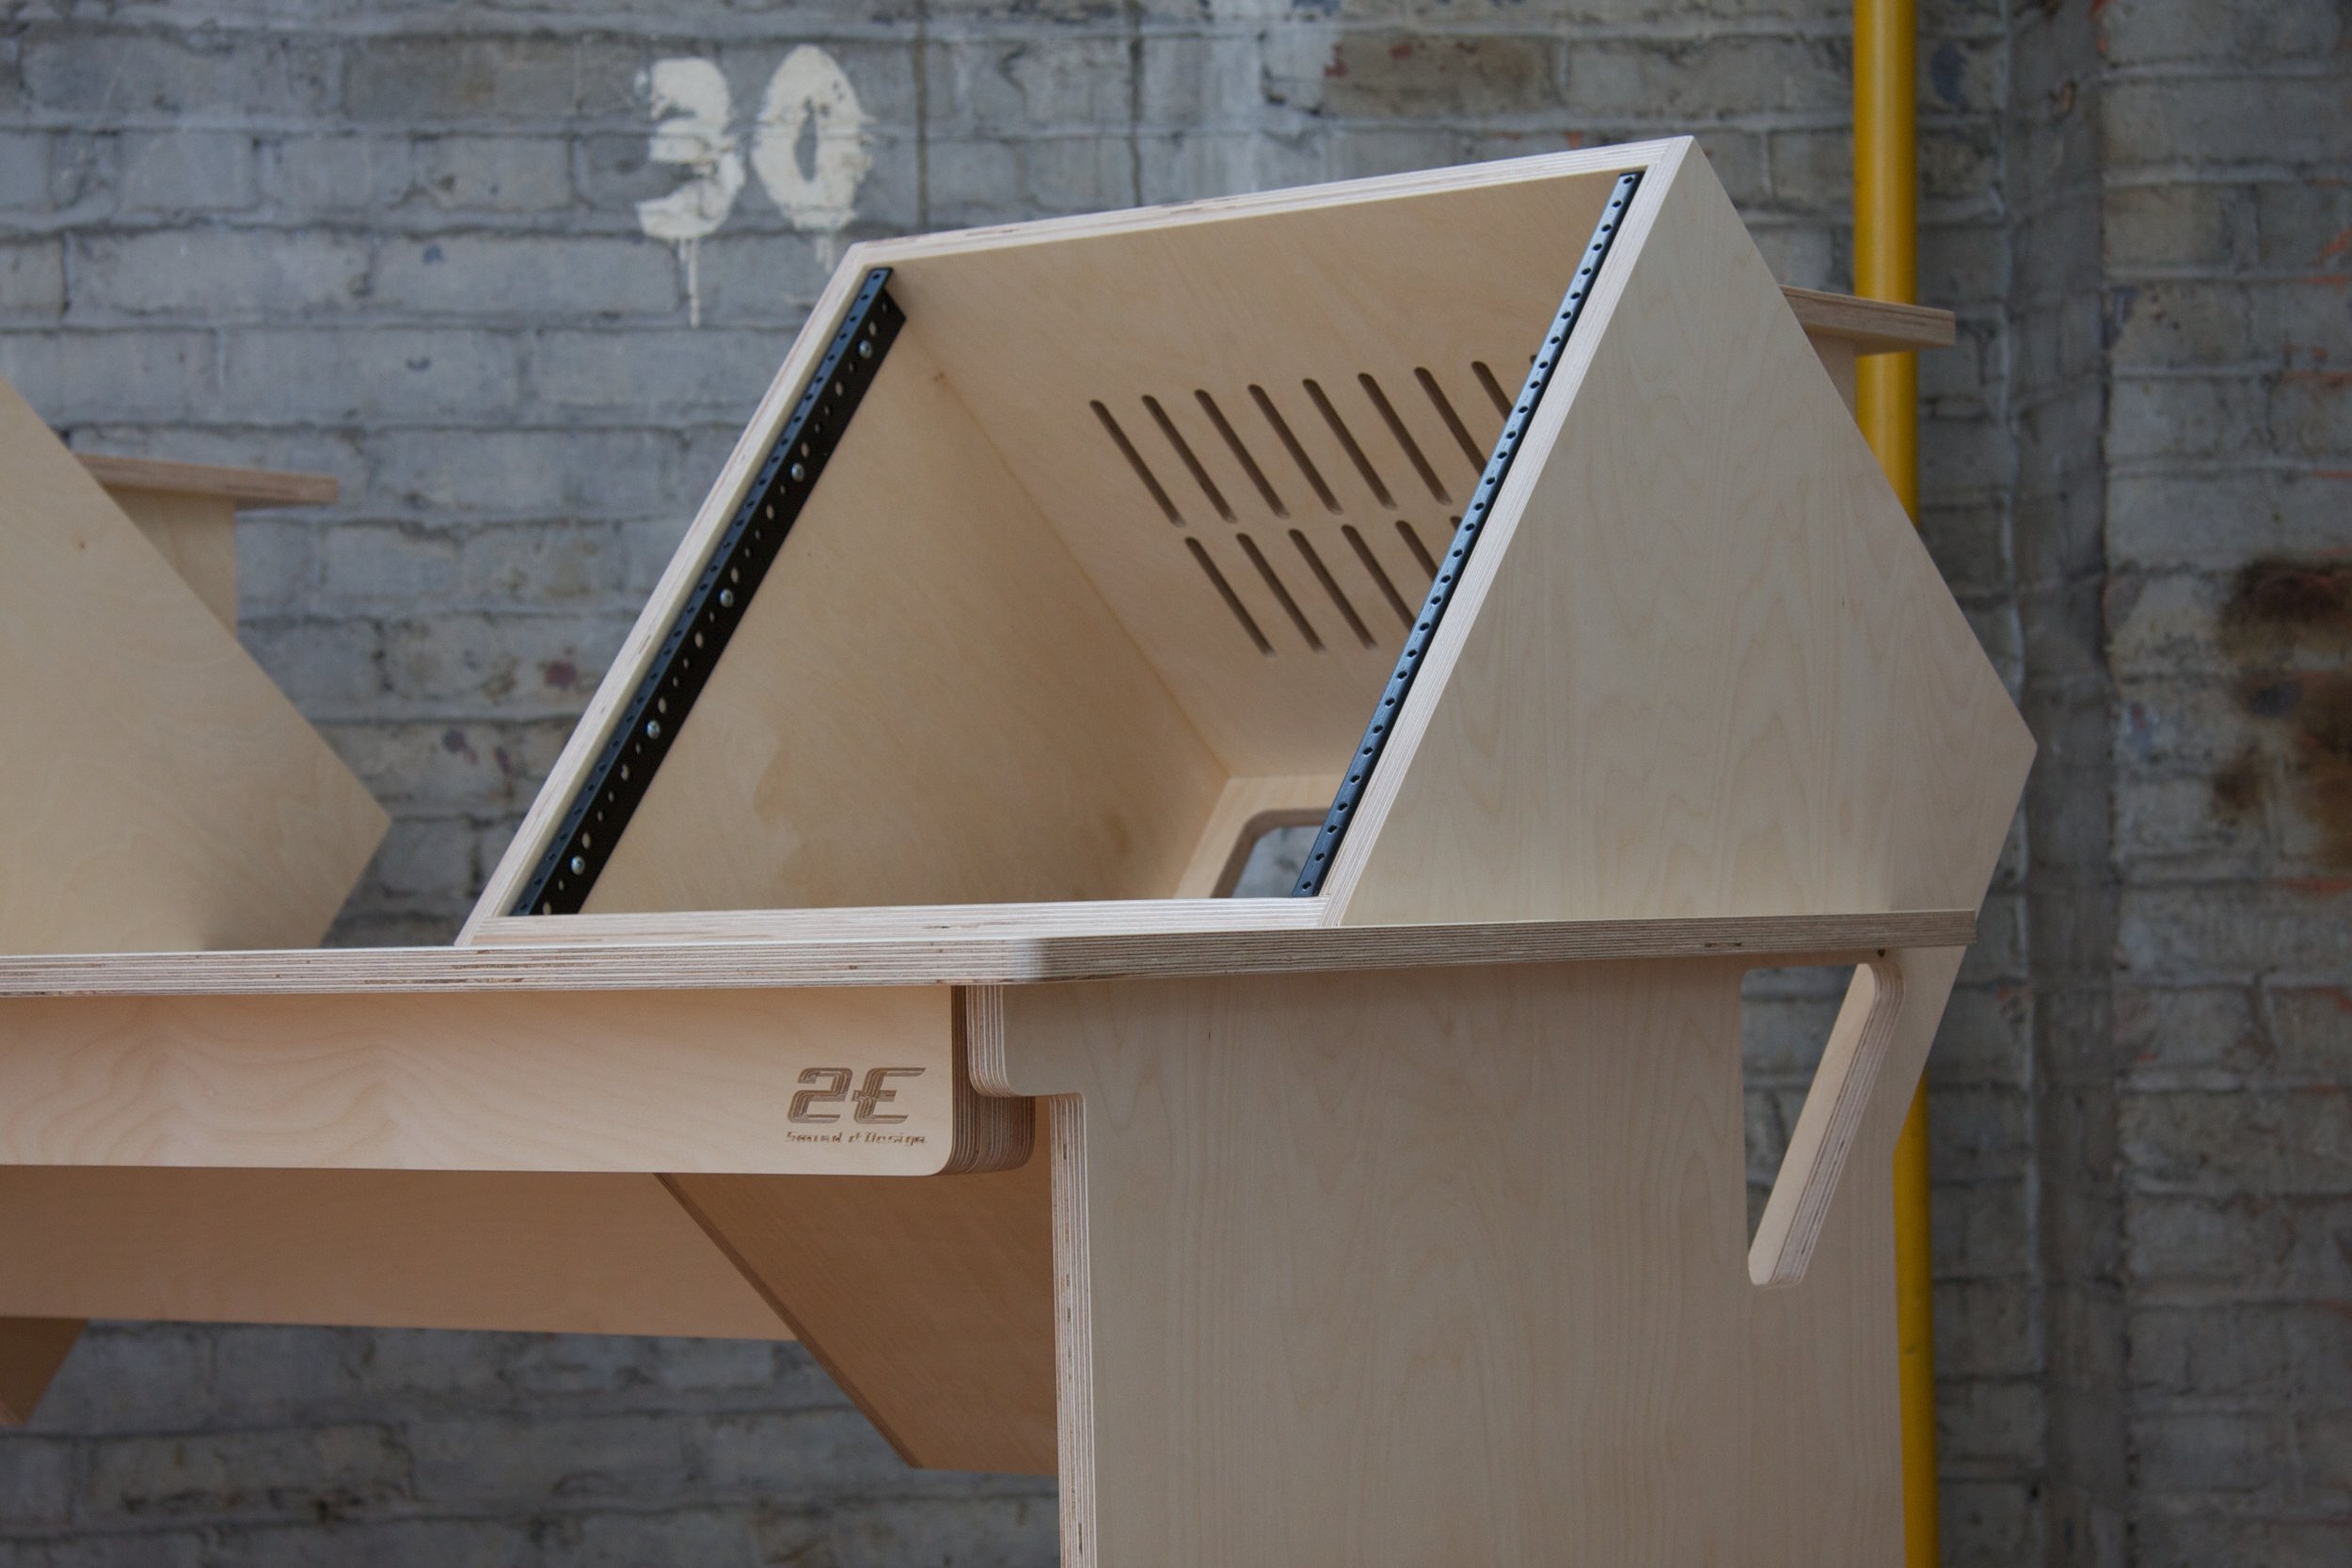
Inspiration for my angled rack mount.
Materials
My initial plan was to build the desk from used scaffold boards. They’re cheap, strong and look pretty badass with dents, scuffs and a rustic industrial look. I opted against this however because of convenience and weight. The boards would’ve taken a lot more carpentry skills having to use dowels, belt sanders and several different saws to cut the holes needed for the racks. My carpentry skills and tool belt are not as complex as I wish they were.
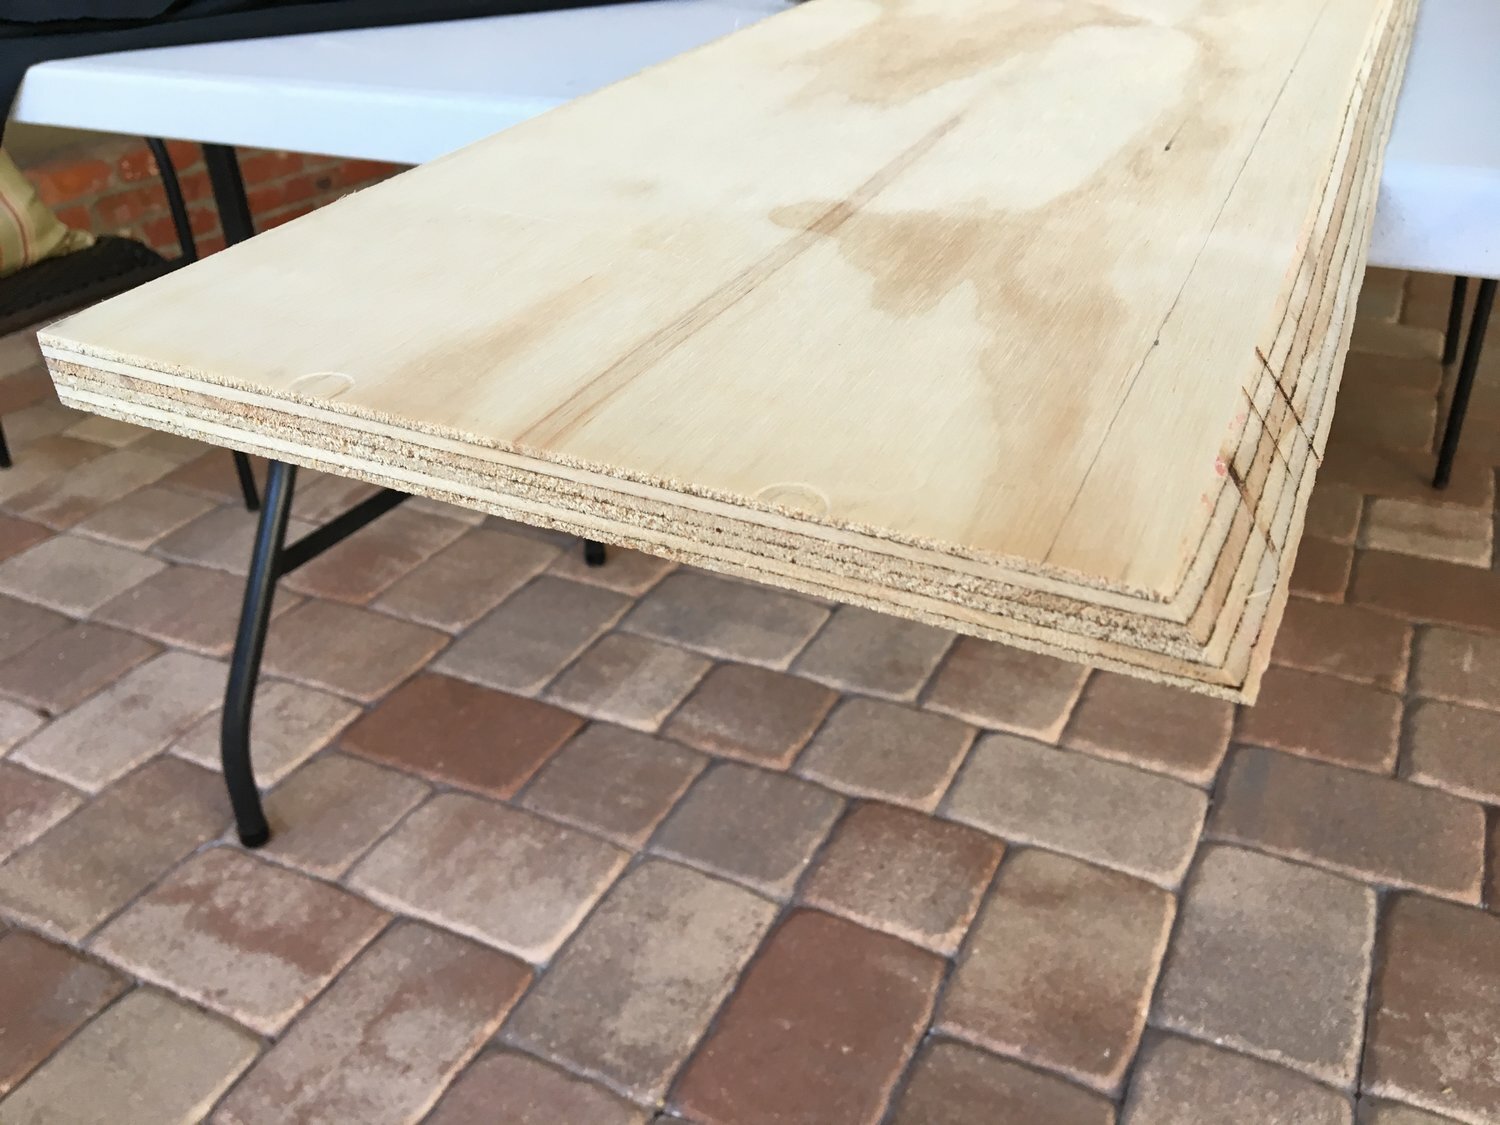
I therefore decided to use ¾” thick high quality plywood. I went for birch, which is very light in colour and has a simple grain. I decided that if I used one solid piece for the desktop and cut two holes out for the racks either side, it would maintain more strength. Adding support beams underneath will ensure the desk doesn’t bow in the middle.
For the legs I splashed out and found some cool, industrial metal legs on Etsy. I wanted something very strong but aesthetically pleasing and these ticked all the boxes.
The hardware was just simple right-angle brackets from Home Depot and I ordered 2 sets of 5U rack brackets from B&H to hold my equipment.
For aesthetics I chose to stain the desk a Walnut colour with a matte varnish. I also purchased wooden trim to finish the edges of the desk.
Building the Desk
Now for the difficult part. Time to crack open a PBR and get to work.
Design
I used SketchUp to draw out fairly accurate diagrams of how the desk was going to work. This was definitely unnecessary but I love playing around with angles and technical drawings so it was part of the fun for me. My biggest, most useful tool on the planning stages was this website:
http://www.cleavebooks.co.uk/scol/calrtri.htm
If you were like me at school and was making spit balls at the back of the maths class, then you won’t remember how to calculate the hypotenuse of a right-angle triangle. Well...this site does it for you. All you need are 2 measurements of the triangle and the angle or length of all sides and corners are worked out for you. I knew I wanted a 45-degree angle on my gear. My reasoning for this was mostly knowing that cutting wood at random angles when you don’t have the proper skill-set or tools to do so, makes life difficult.
I also knew I wanted a 5U space on each rack. One rack unit equals 1.75” so one side of my triangle was 8.75” (5x 1.75). Now I had my two measurements. Plug them into the calculator above and that gave me the height at which to cut the sides of my rack mount.
Using the calculator again helped me figure out the size of the two holes to cut in the desk. I felt like a bloody genius using this calculator…next stop the Flux Capacitor!

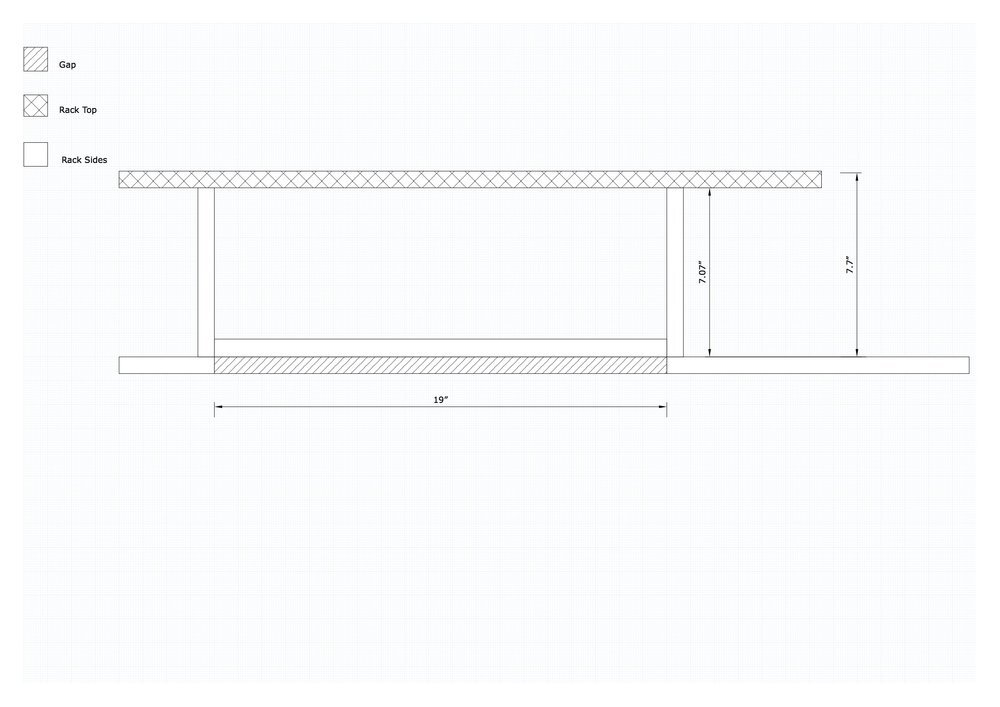
Side view.
Front view.
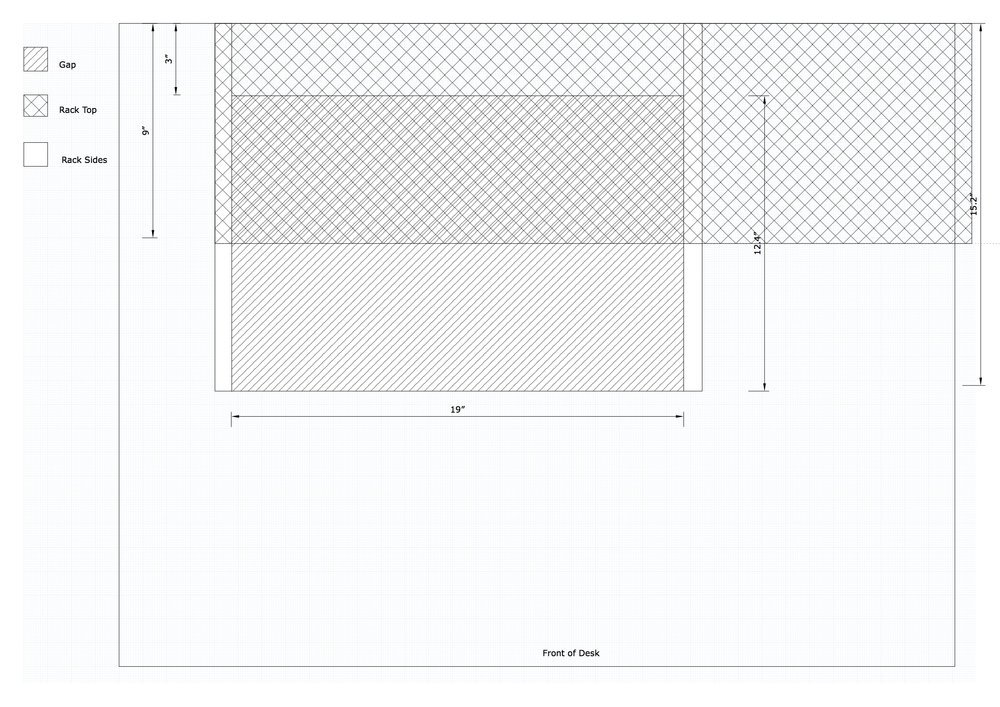
Top view.
Cutting
This part is the scary bit. I haven’t used a circular saw since I built my studio when I was 16. Maybe I’ll put the beer down for this part and put on my gloves and safety goggles. I had the guys at Home Depot cut the main outline of my desk. The rest was up to me. I rented a saw for a day not realising until I got it home that it was a left-handed saw!! FFS! I’d already paid and the clock was ticking on my 24-hour rental so I just pushed on through.

Left-handed saw.
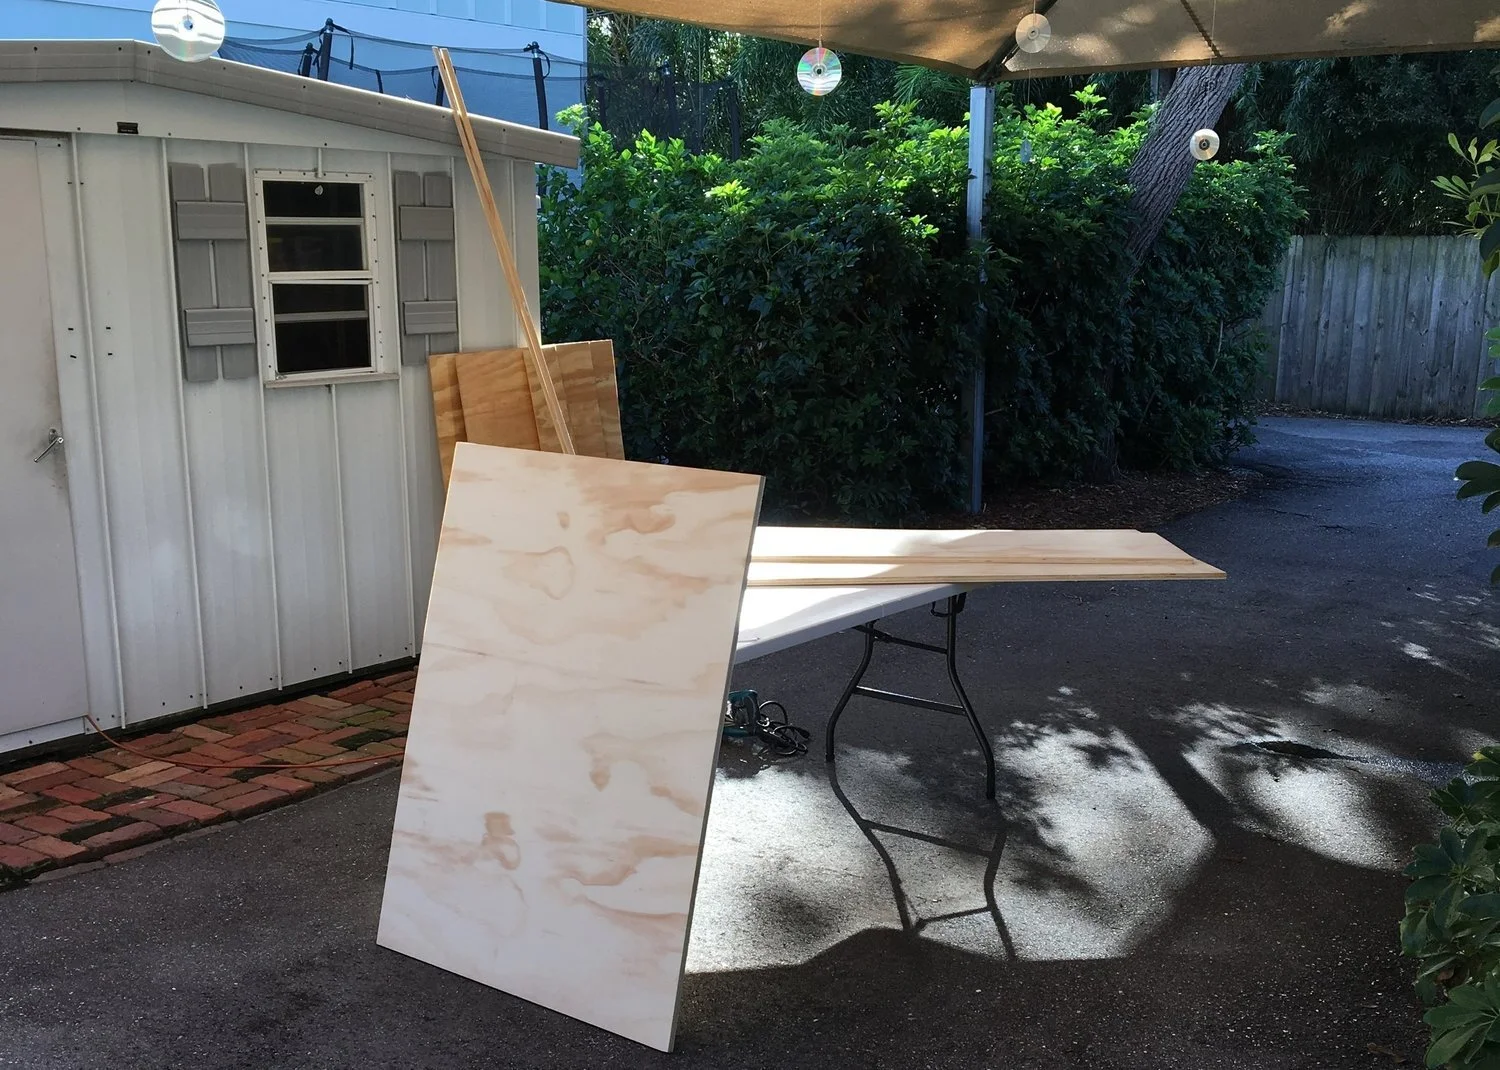
Prepping for the cutting.
Now, cutting a straight edge is not easy if you don’t have the right setup. You need a factory cut straight edge on another piece of wood to use as your guide. This then gets clamped to the piece you are cutting. The saw also has an attached guide, which is usually 1.5” from the blade so you have to add 1.5” to all your measurements.
When cutting along the edge, don’t do what I did at first and attach your wood to an unstable table. I did my first cut and the table shifted making my straight edge rather curvy. It took me a few goes to get the cut right so if you can do a few test cuts before committing to the piece you want, do it.

45-degree angle cuts for the rack mount sides.
For the shelf I used a piece that was exactly the same length as the desk so that it can run across the top of the two rack mounts. Since I had 45-degree angles on the front of the racks I thought I'd try and get fancy and cut the front edge of the shelf at 45-degrees also. On the saw you can adjust the guide to 45-degrees. I was actually shocked at how well this worked and it left me with a cool layered front edge for my shelf.
Shelf with 45-degree angle for front edge.

Several hours later I had what was starting to look like a desk. I still needed to cut holes into the desktop too to allow for my equipment to be sunk at the desired angle. There’s a few ways you can do this. One option is drilling holes in the corners of the square cut you want then using a jigsaw for each side of the square. I opted to do a ‘plunge cut’ with the circular saw. This is a little trickier but pays off with straighter edges (if you do it right).

Plunge cut.
I clamped my guide wood at the measurement and butting the saw up to it you pull back the safety blade cover, start the blade and drop it in. It’s a little scary but fairly straightforward. I used this tutorial to help me.
Staining and Varnishing
And…relax. OK, I still have all my fingers and I’m done with all my cutting. It’s staining time. I chose a Walnut stain. I’m still unsure if I chose the right stain, I was torn between a lighter more natural colour and a dark stain. The dark stain is definitely growing on me though.

Staining process.
This part is easy, you can use a brush or a rag to liberally apply the stain with the grain, wait a few minutes, then wipe the stain off again. I suggest trying it on a spare piece of wood first. I discovered the longer you leave the stain on the deeper the colour gets. I ended up only leaving it for around 30 seconds then wiping off to give a slightly lighter look.
Once dried after a few hours I whipped out the varnish and applied with a good quality paintbrush. I did two coats and wanted to do a third but ran out of varnish so left it at two. I recommend at least two, the more layers you put on, the more durable the desktop becomes.
Constructing
This is the Ikea part where we construct all the parts and hope we didn’t miss anything!!
This segment was the easiest part of the entire process, simply screwing everything together. I started with the industrial legs, screwing 6 screws per leg through to the bottom of the desk. I had to ensure that my screws were long enough to get a good grip in the wood but short enough to not penetrate through the desktop.


I then attached the four 45-degree shelf side panels to the shelf with L-brackets measuring a distance of 19-1/8th” in-between them to allow for a 19” piece of equipment. My initial measurement was 19” exactly (as shown in the diagrams above) for the gap but discovered that once the rack rails were attached it didn’t leave enough freedom for a 19” rack mounted piece of gear. I would advise having this 1/8th” buffer, most rack equipment has larger screw holes for this reason, allowing for slightly differing rack housing.

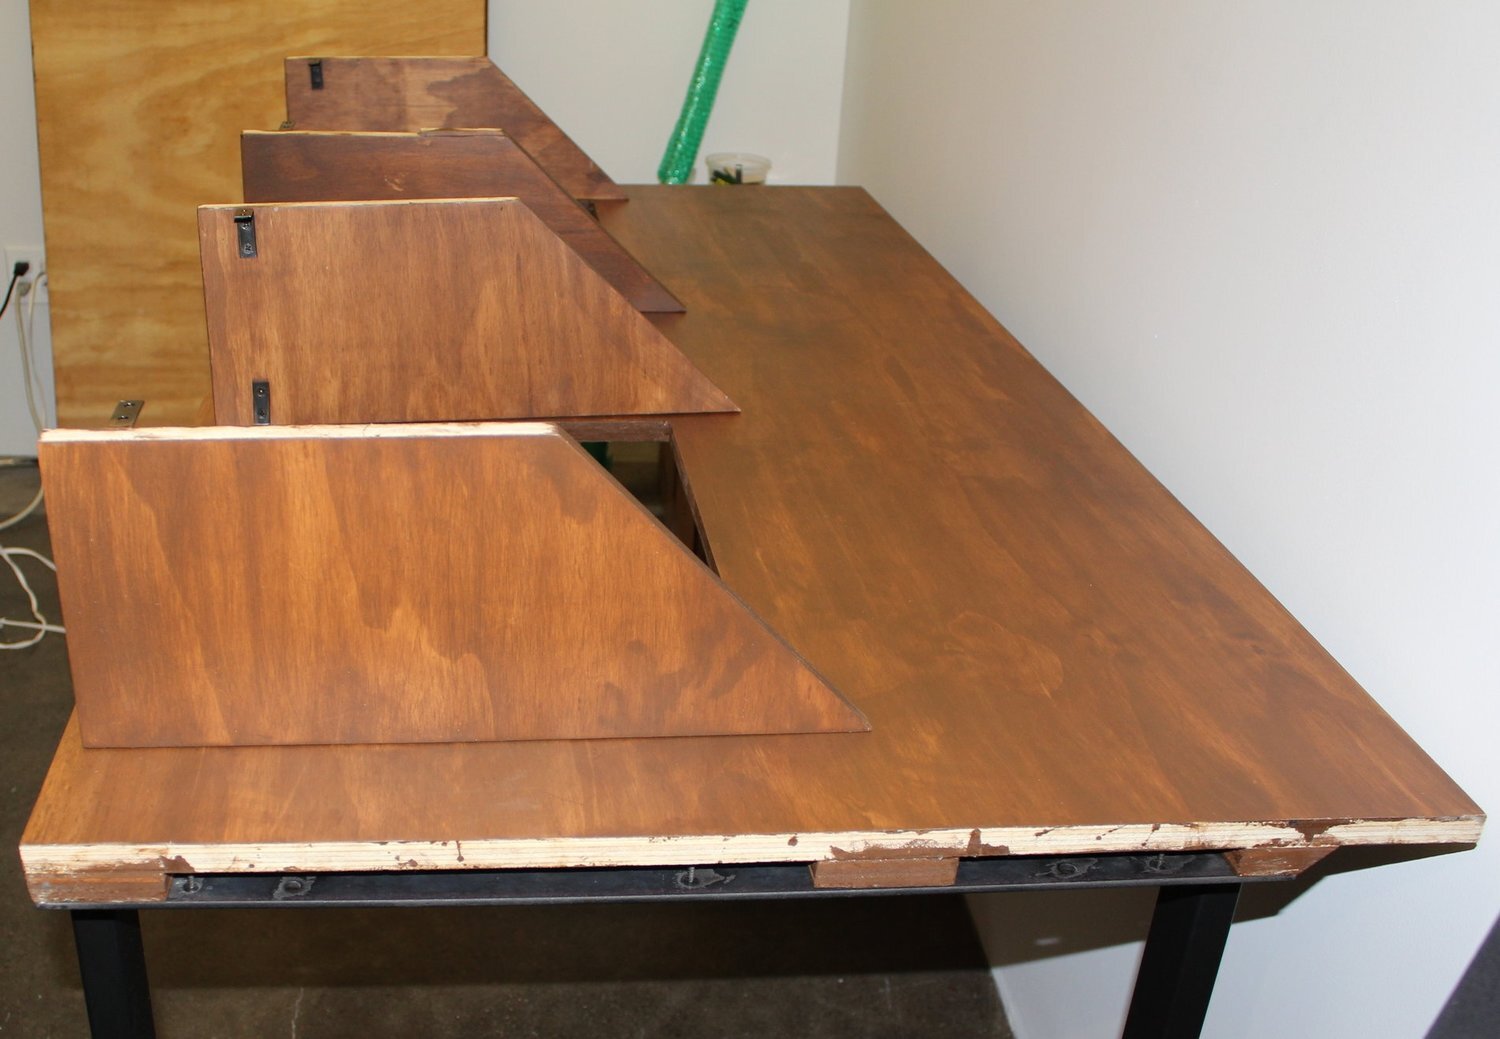
Screwing the 5U rack rails was fairly straightforward too; I put three screws in each since they’ll be holding heavy gear. I just made sure the rails were centred on the diagonal cut of the shelf sides with an even amount of gap at the top and bottom so the equipment sits parallel to the shelf top and desktop.
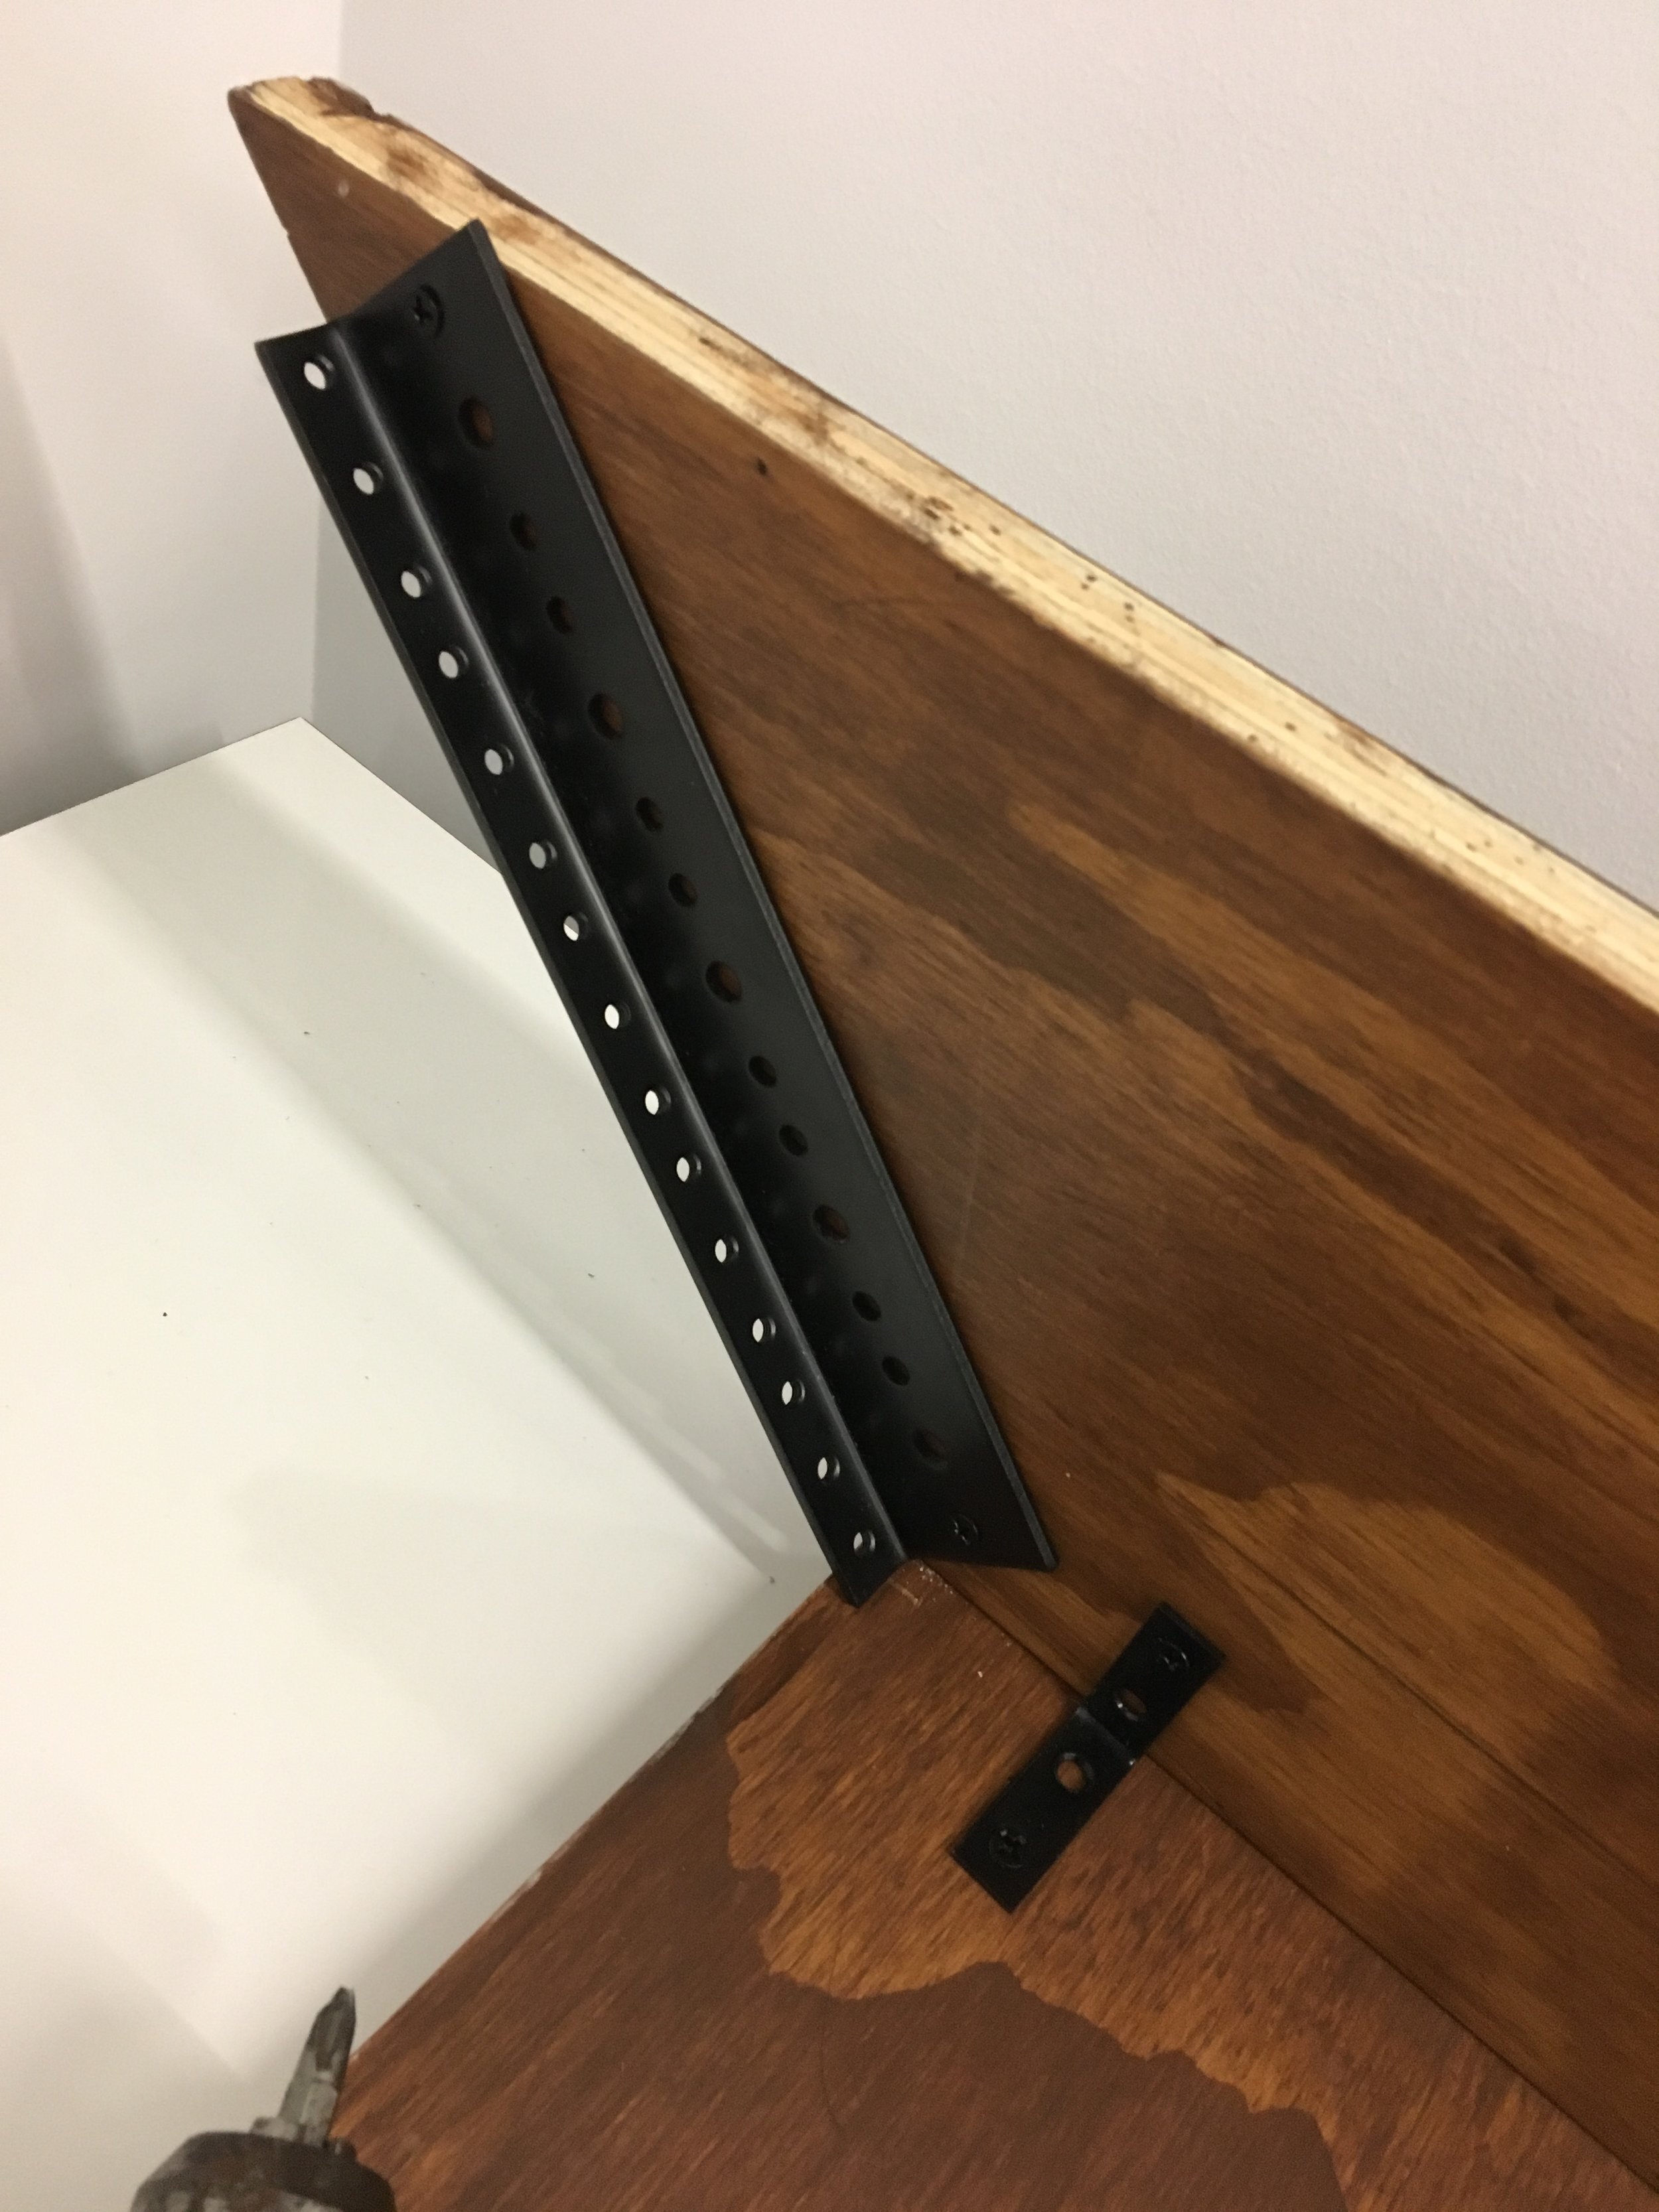
5U rack rails being attached to the shelf sides.
I then used more L-brackets to attach the shelf to the main desk. The weight of my speakers and monitor was honestly enough to hold the shelf down but I wanted to make sure that nothing could shift. Underneath the desk I bought an Ikea cable management rack to organise the cabling, this was a cheap purchase and an easy install.


Lastly I added the trim which I had cut at 45-degree angles allowing for a plush corner. I only varnished the trim and didn't stain it to create two-tone look to the desk. The trim was simply glued to the desk with wood glue and I was done.
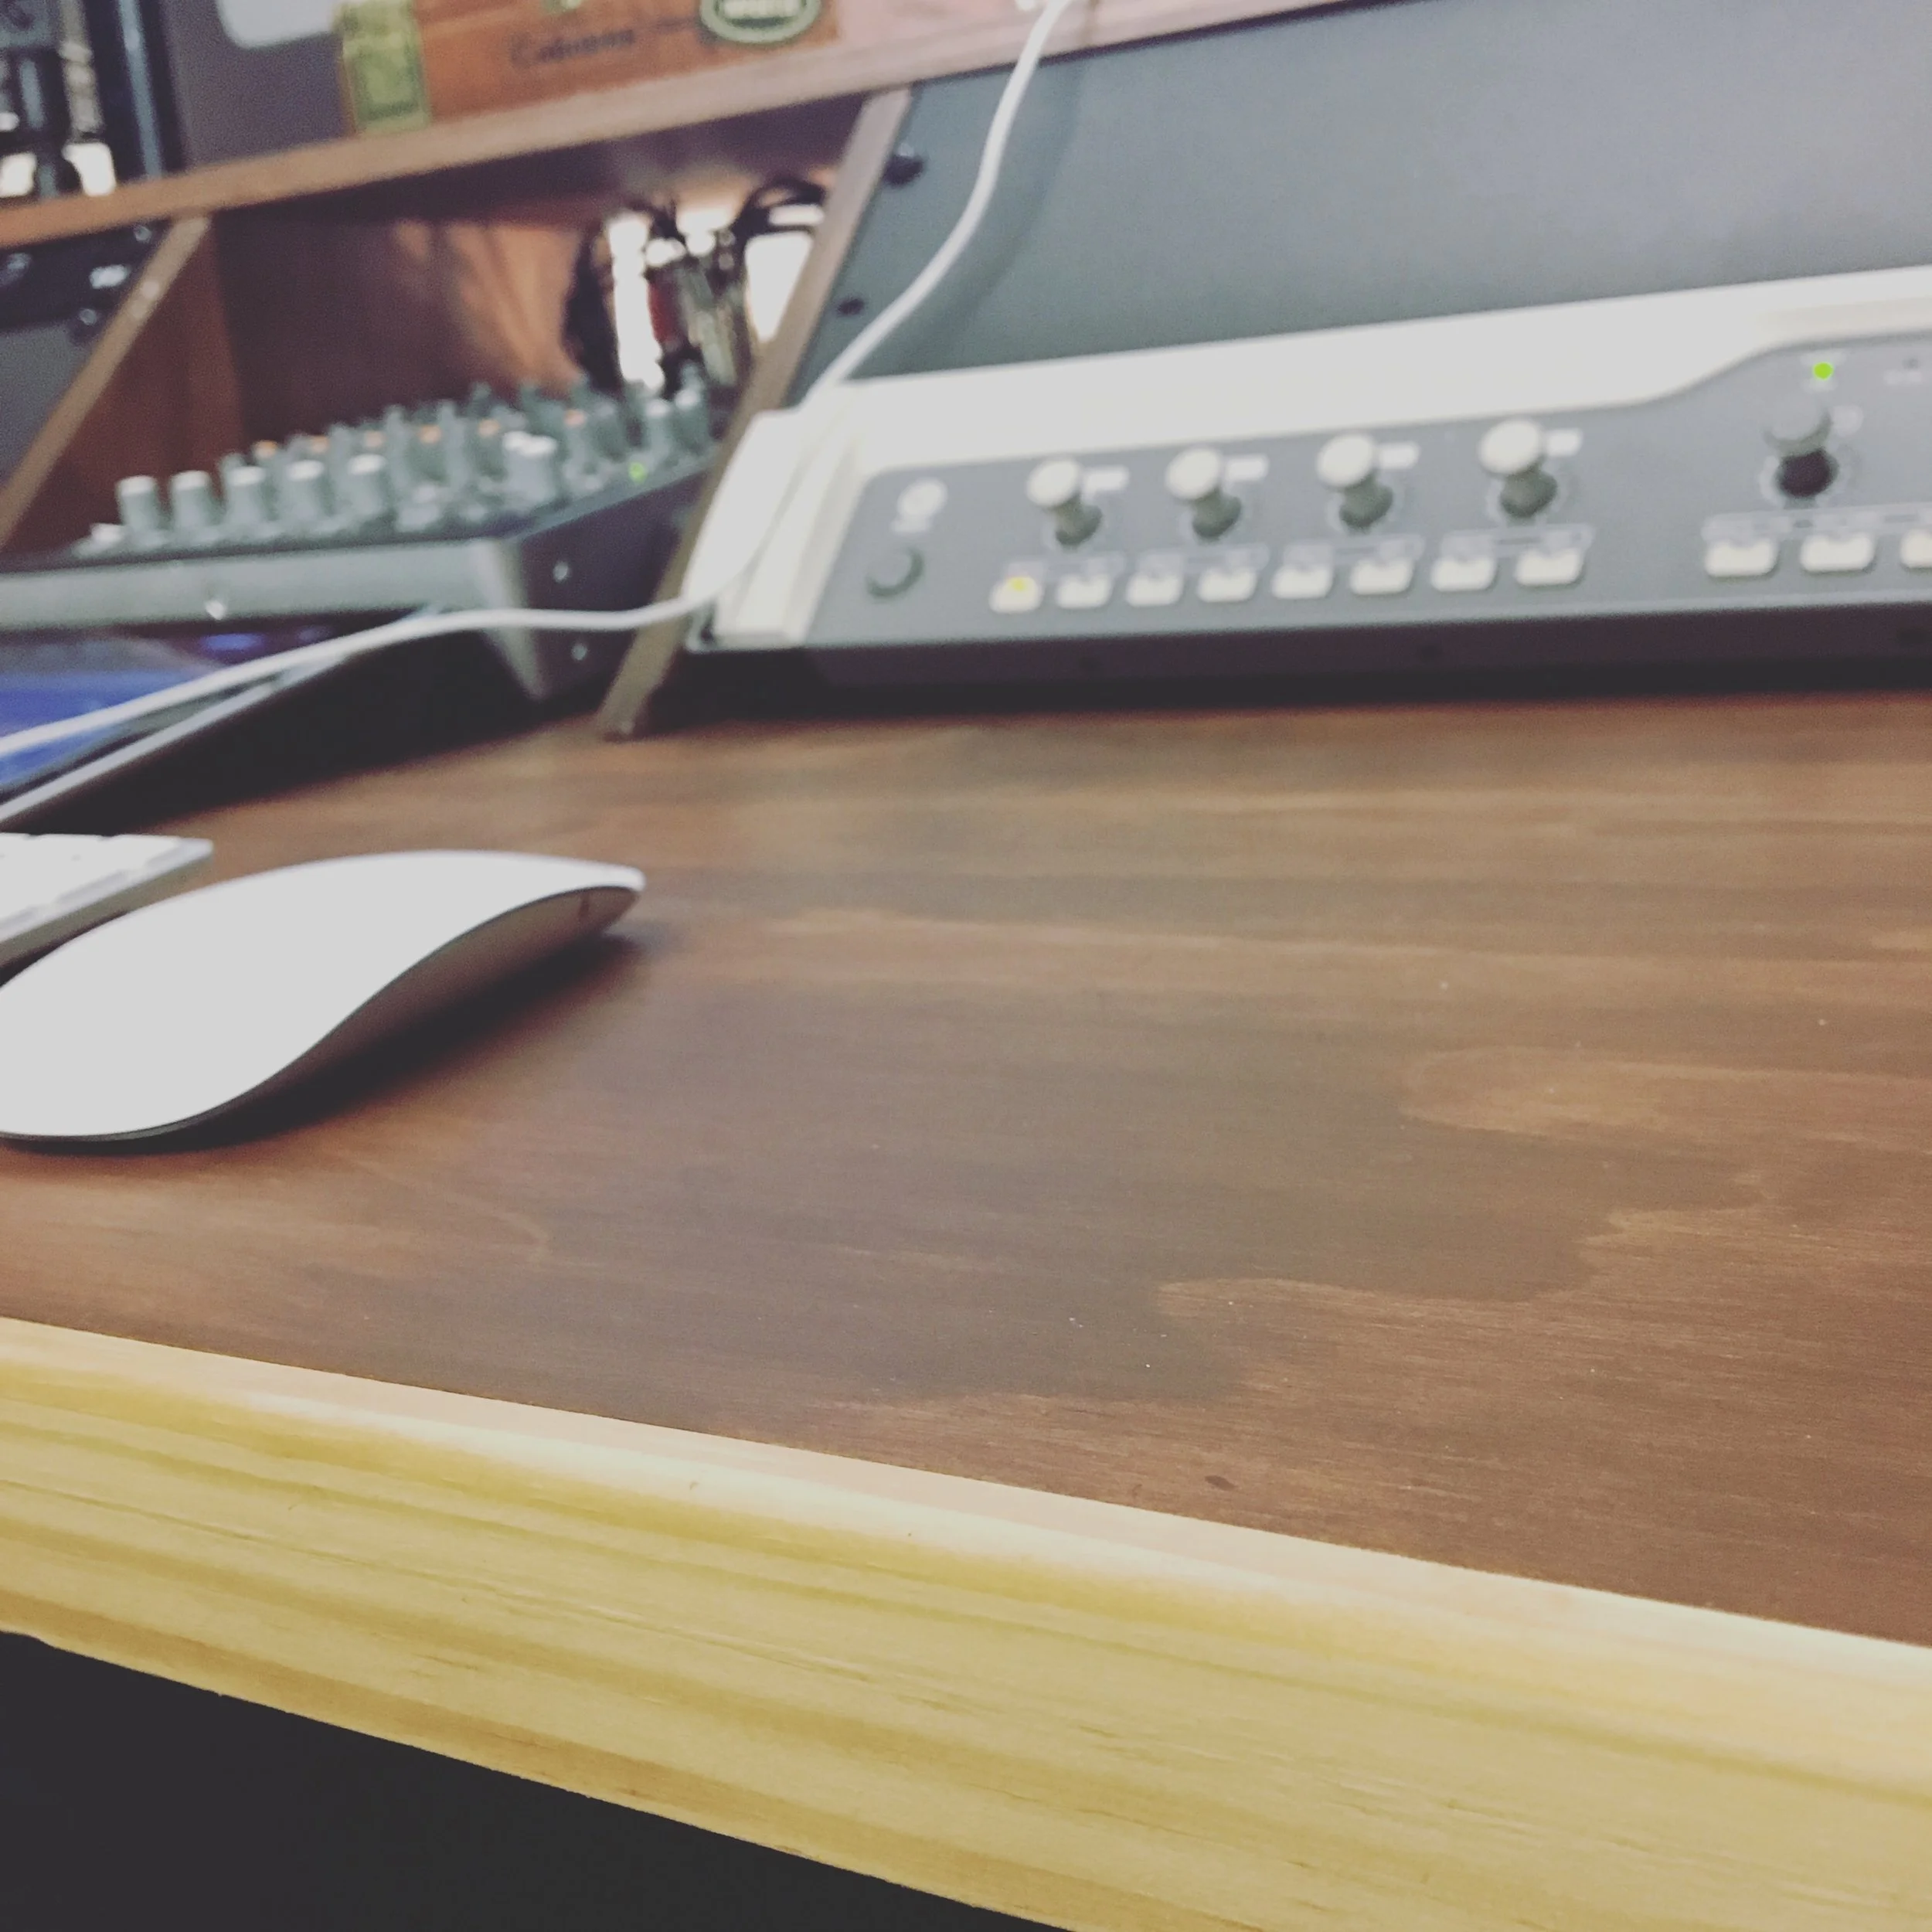
All the trimmings...
After loading in all my gear I’m extremely happy with the durability, practicality and look of the workstation. It fit’s perfectly in my room and goes along with a rustic-chic look I wanted for my studio.

The finished product!